Hi there! Happy Saint Patrick’s Day!!
Today I want to show you a super simple diy project using contact paper. Contact paper is a thin paper like material that usually has a decorative design on one side and a sticky adhesive on the other side. This weekend was my first experience with contact paper and I want to show you a photo step-by-step how-to. I bought this contact paper several weeks ago, but kept putting off lining my desk drawers because I was intimidated since I had never used contact paper. I was worried I would waste the paper or damage my desk, but I was making it out to be scary and it really isn’t.
I lined my desk drawers, but I have seen some amazing projects on Pinterest doing all sorts of things with contact paper. I really want to do a bookcase next!
SUPPLIES:
Contact paper (I got mine from www.interiorplace.com)
Scissors or a paper cutter
A ruler (a clear one really makes it easy)
A pen or pencil
A small plastic squeegee (*optional but it REALLY helps!)
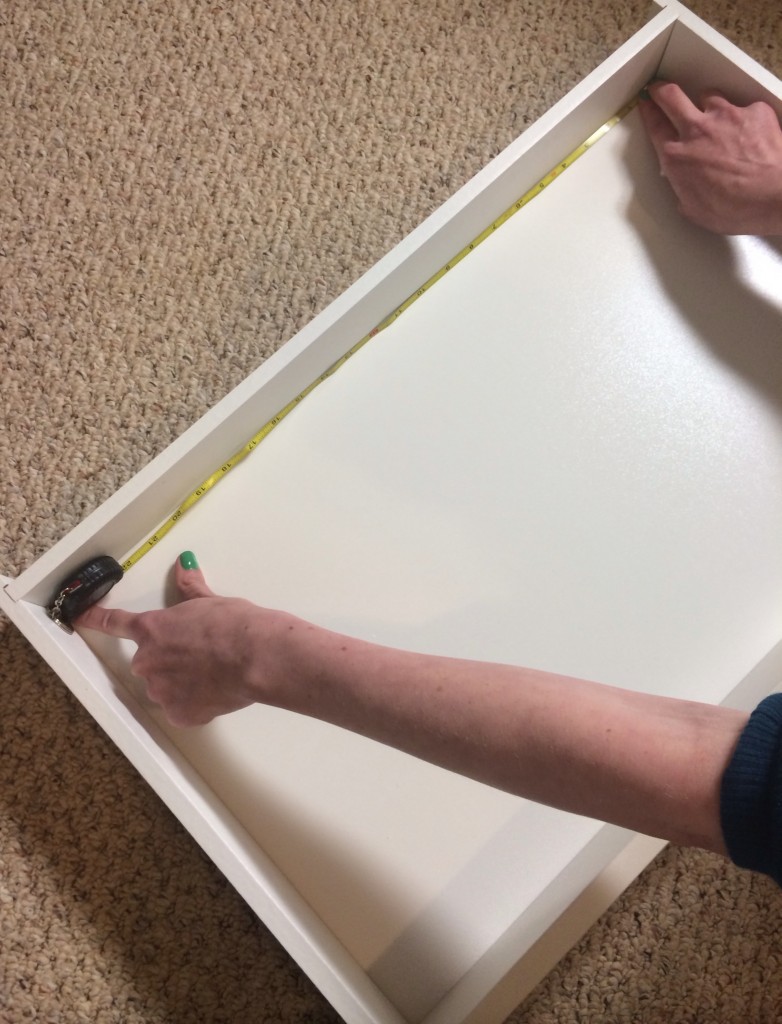
STEP 1:
Measure the size of the item you want to decorate with contact paper
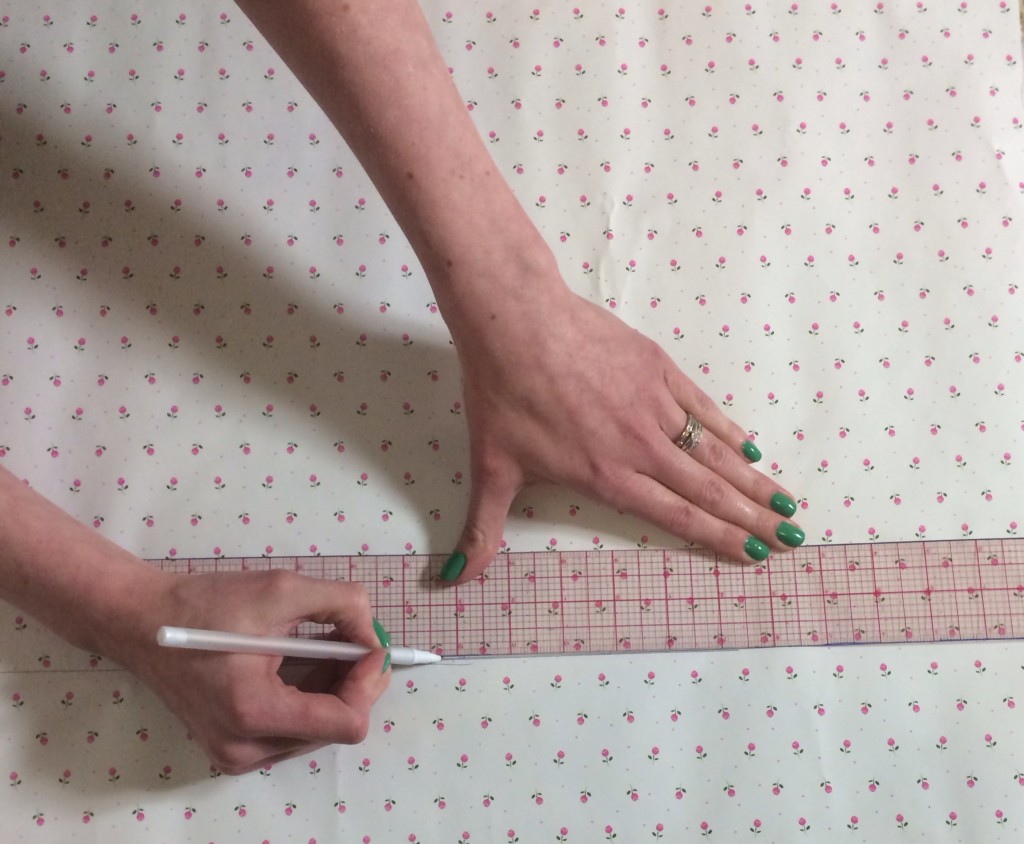
STEP 2:
Use your ruler and pen or pencil to mark how much contact paper you will need.
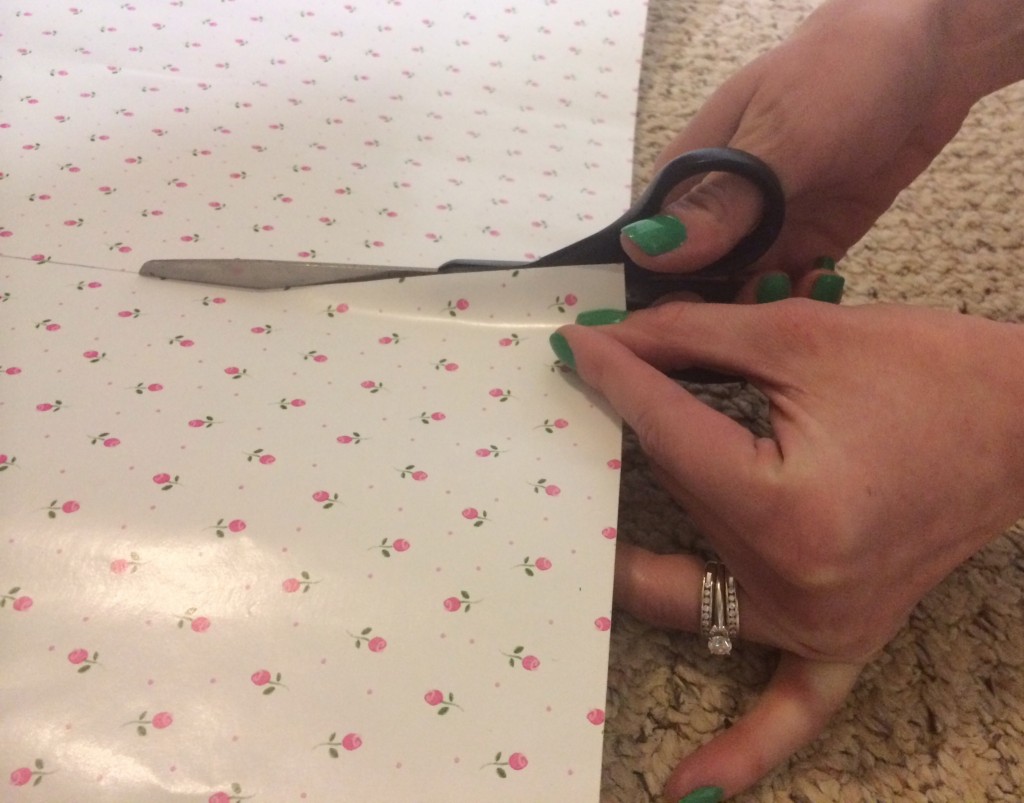
STEP 3:
Carefully cut your paper out.
STEP 4 (the most tricky and important step!):
Peel off the first couple inches of the backing on the roll of contact paper and put the corners into the corners of your drawer or whatever you are decorating. Slowly unroll the contact paper and smooth it down as you unroll.
STEP 5:
Use the squeegee to smooth over the paper…this helps with any bubbles or wrinkles that may have happened while unrolling the contact paper.
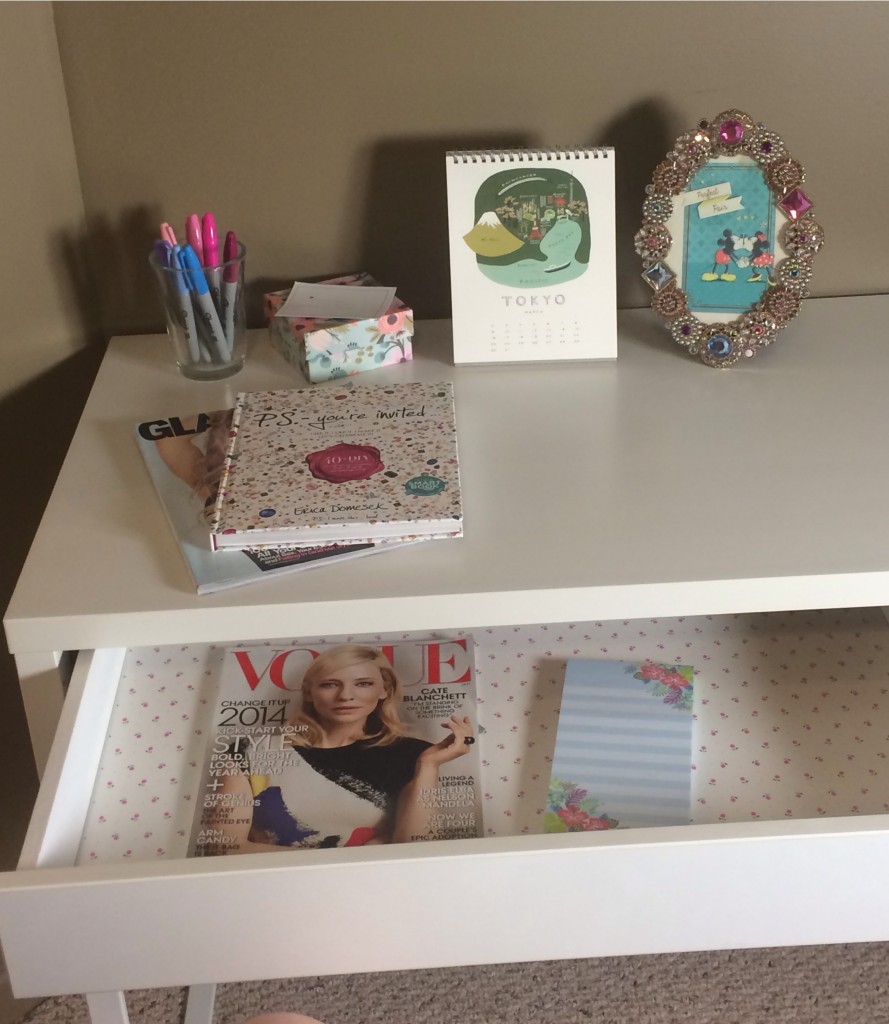
STEP 6:
Enjoy your masterpiece! How adorable is that?!
COST:
This project only cost me the price of the contact paper (around $12) because I had all of the other items on hand at home.
What diy projects have you tried recently? Are there any projects that you are intimidated by and still want to attempt? If you have any questions or if there is a project you’d like to see on leahtackles.com; Tweet me, find me on Facebook, Instagram or comment at the top of this post! If you enjoyed this post, please subscribe.


