Hi there! Happy Monday!!
Today’s blog post goes out to my sweet friend and subscriber, Tammy, who just welcomed a sweet baby girl (congrats again girl!!) because she asked me for my Hair Tutorial-Easy Everyday Curls for Beginners. That tutorial is great for quick, everyday curls, but today I want to share my faaaavorite curls that take a little longer, but I can also get two days wear out of them.
BEFORE WE GET STARTED:
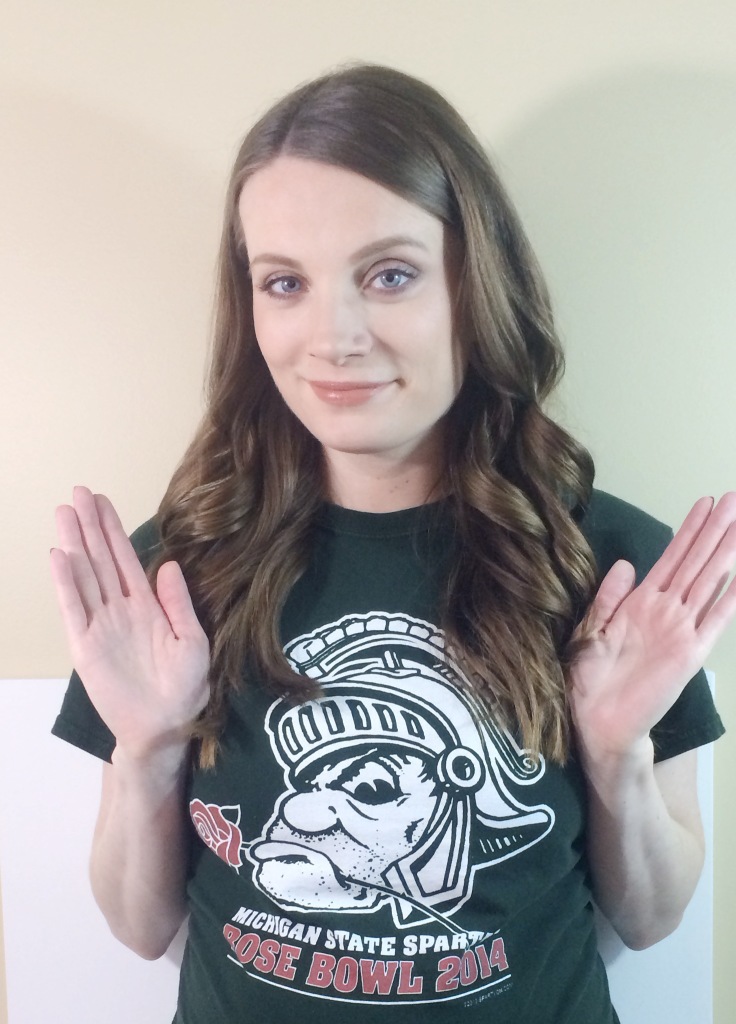
1) I took these pictures about a month ago and almost didn’t upload them because I’m in a lounge top, but hey this is real life!! : )
2) I do NOT show myself using a glove but these curling irons are EXTREMELY hot and when I first used mine I would wear the glove, and sometimes still do. BE CAREFUL!
ABOUT MY HAIR:
I have naturally straight hair, it doesn’t dry completely stick straight like it did before kids, but it’s still very straight naturally. I have very fine hair, but a lot of it. My hair can sometimes be dry at the ends, and I use dry shampoo in the roots to avoid any greasiness on second day hair.
PRODUCTS I USED:
Nume Classic 25 MM Curling Wand (this is AMAZING! I absolutely adore Nume products, they are worth the hype!! Never pay full price for these though, google coupon codes because you can get them for way less!!)
The “Wet” Brush This is the most amazing brush EVER! It puts my old stand-by, a large tooth comb, to shame.
It’s a 10 Miracle Leave-In Product Amazon has the best prices for this!!!
Got2B Gaurdian Angel Heat Protector
Sectioning Clips (I don’t like mine and can’t find my good ones, but the ones I linked are great!)
It’s a 10 Miracle Styling Serum
STEP 1:
Spray your hair with a heat protectant and then begin sectioning your hair. I try not to worry too much where exactly I section, but do the sides and middle in 2-3 sections each. If you would like to see exactly how I section, let me know in the comments and I would be more than happy to do a post on that as well.
STEP 2:
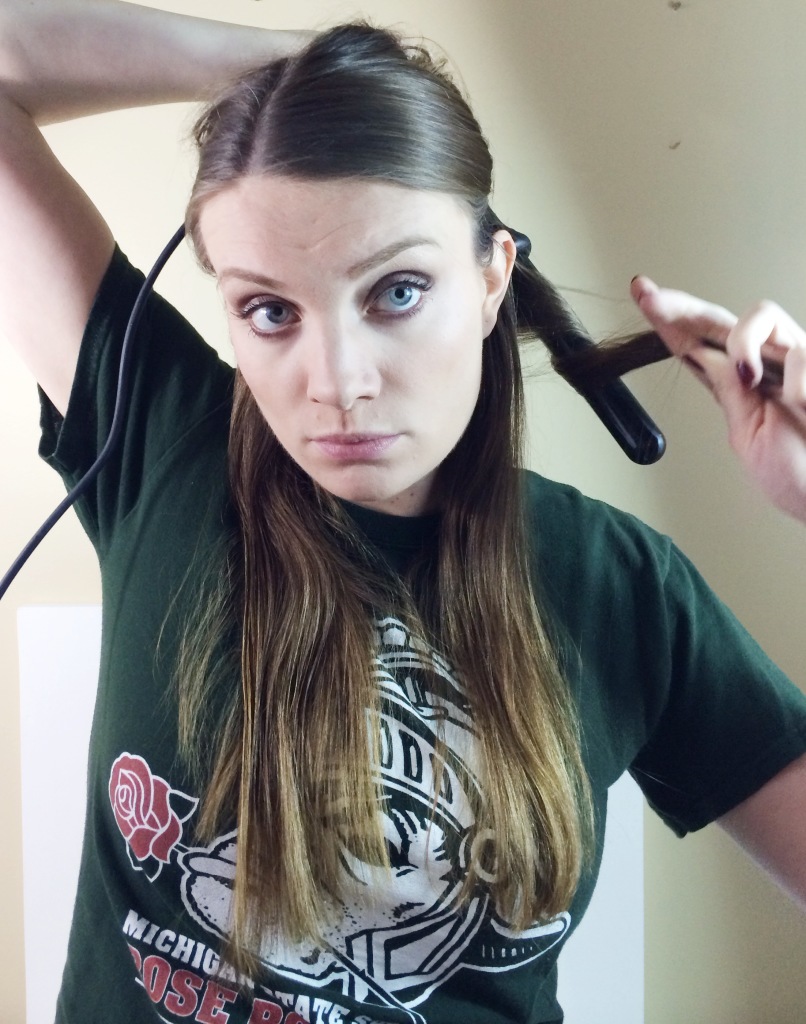
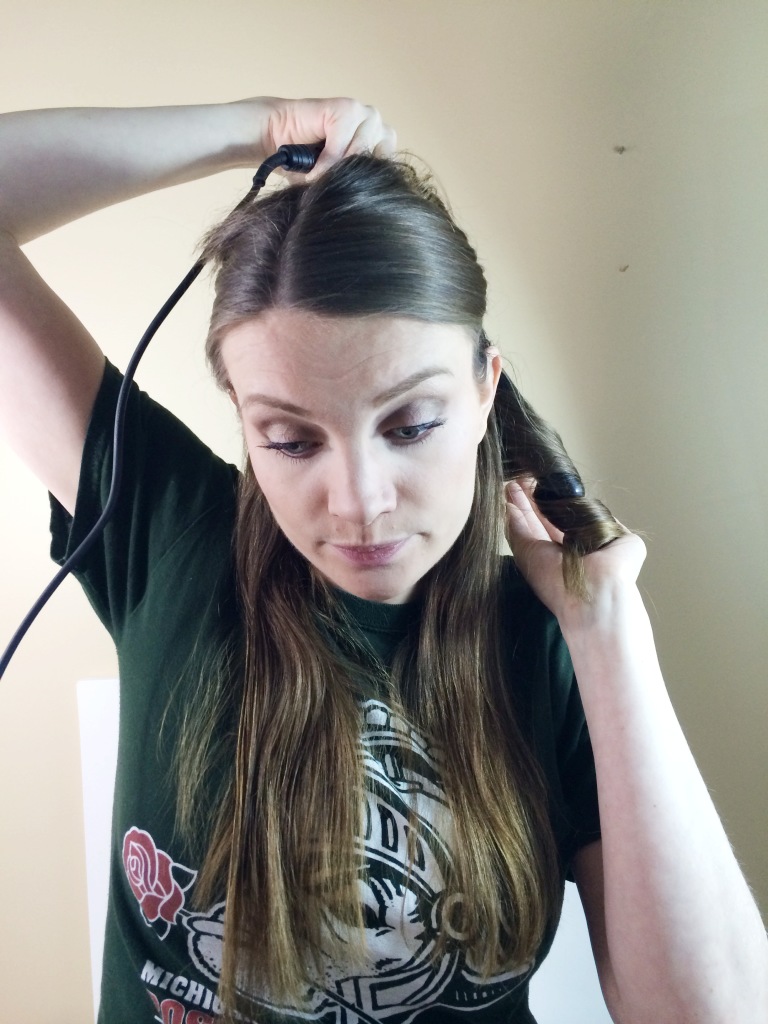
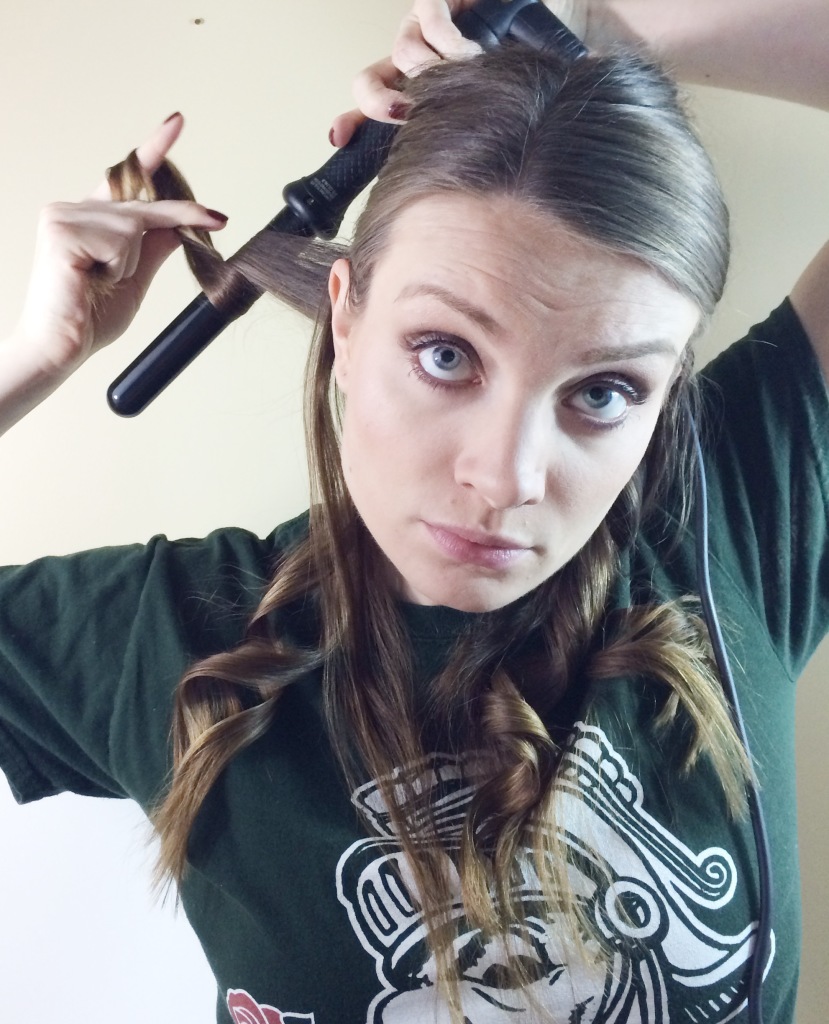
Choose one of the bottom sections and take a 1 inch section from the back. Hold the curling wand upside down with the OPPOSITE hand as the side you are curling and curl the section around the wand. I like to keep the hair flat to the iron and wrap the hair away from my face. To wrap away from your face start with the hair up and over the wand. Continue doing this around your head letting section by section down as you go.
STEP 3:
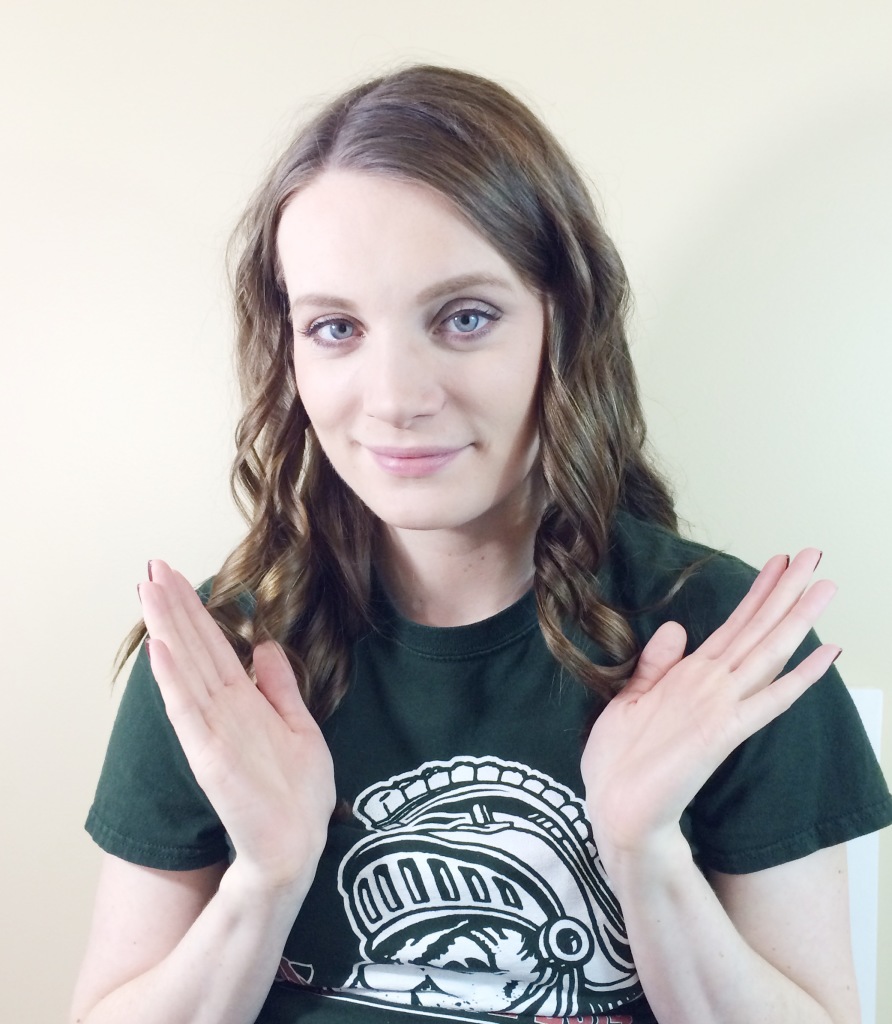
I let my hair set for a few minutes & spray it with a little hairspray. I then put my head upside down, shake it around and spray it with a little more hair spray. I like to finger comb through some of the curls, but be careful not to do it too much so you undo your pretty curls! I then put a little oil on the ends of my hair.
I know this may seem intimidating, so *pleasepleaseplease* feel free to ask any questions in the comments or on any of my social media. I seriously didn’t know how to curl my hair well until I turned 25!! This may take a little practice, but it is a great style to be able to do! I love this because I can wear it on the first day, sleep on it, and then comb through the curls a little for loose, big volume second day curls.
Have a WONDERFUL week : )




Torey says
Love this! I just got a wand curler and loveeee it!
leahtackles@gmail.com says
Thank you!! I LOVE mine!! I got it for Christmas last year & have a couple sizes now. They are AWESOME!!