Hi there! Happy Wednesday!
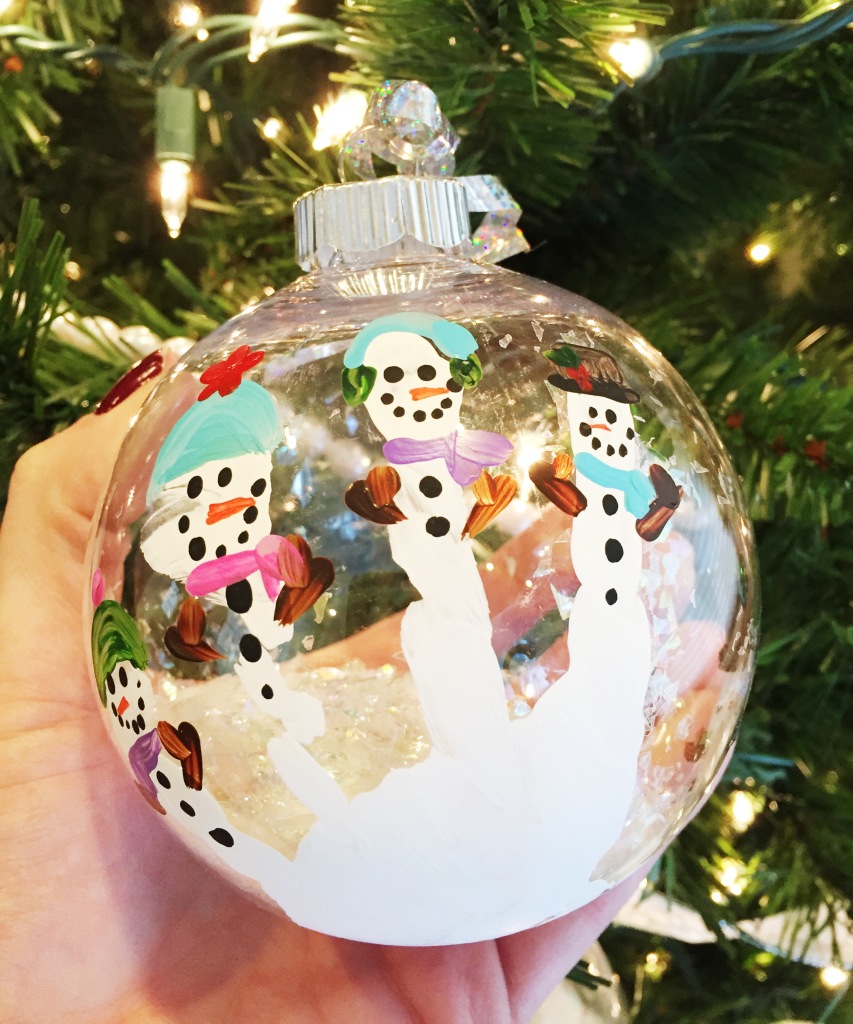
Thank you for stopping by my blog today!! I hope that you enjoy this post and will stay awhile : ) Last year for Christmas my kids, Hailey and Connor, made some of our friends and family some DIY ornaments, and they turned out so well that we decided to make a fun ornament this year as well. I haven’t decided if this will be our gift from them this year, but we did have fun making some for our house!
DIY SNOWMEN ORNAMENTS:
What You’ll Need:
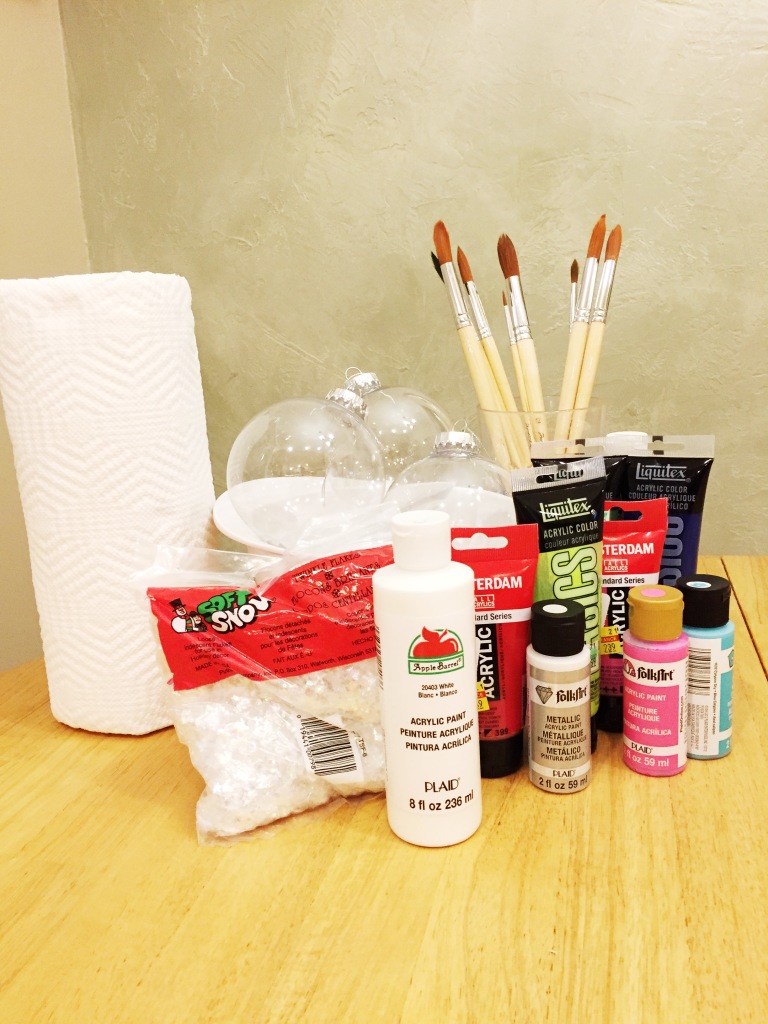
Large Clear Plastic Ornaments (*Tip: I found mine at Dollar Tree and Meijer, but most big box stores or craft stores will have these!)
Soft Snow Shimmer Flakes or whatever you choose to put inside your ornament (blue ribbon, glitter, or confetti would all be fun options!)
White Acrylic Paint
Assorted Acrylic Paint Colors
Paint Brushes (I used one medium sized one and one very small pointed one)
Step 1:
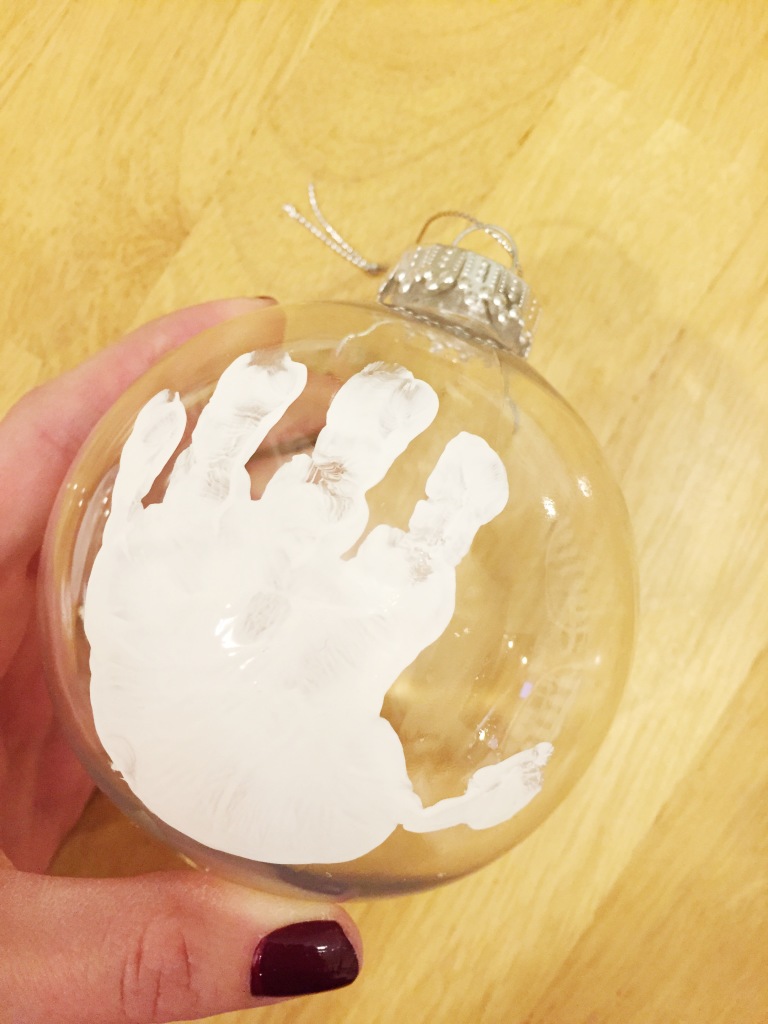
Paint your childs hand with the white paint and have them make a hand print on the bulb. For my 3 1/2 year old I just showed her how to put her fingers on the bulb and not wiggle them around, but for my almost 2 year old I found it easier to just hold his hand steady while pushing the ornament into his palm myself.
*TIP: If the fingers wiggle or the hand print doesn’t turn out I was able to quickly wash off the bulb, dry it, and redo the print!
Step 2:
Let the ornaments dry completely. I found that using small cups worked great for this so they wouldn’t roll.
Step 3:
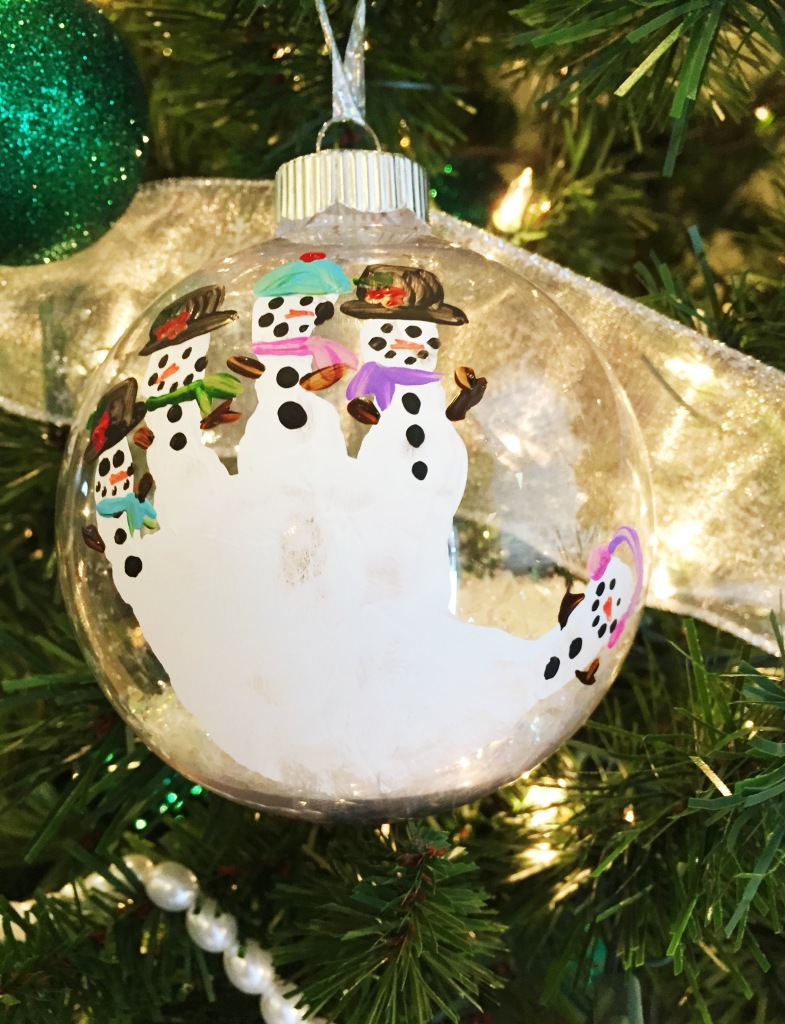
Paint the details onto your snowmen! If you have an older child, they can do this part, or you can do it yourself. I had a lot of fun adding top hats, holly, earmuffs, scarfs, and of course that carrot nose! You could also use paint markers or permanent markers instead of paint to do this part if you prefer.
Step 4:
Let your ornaments dry completely!
Step 5:
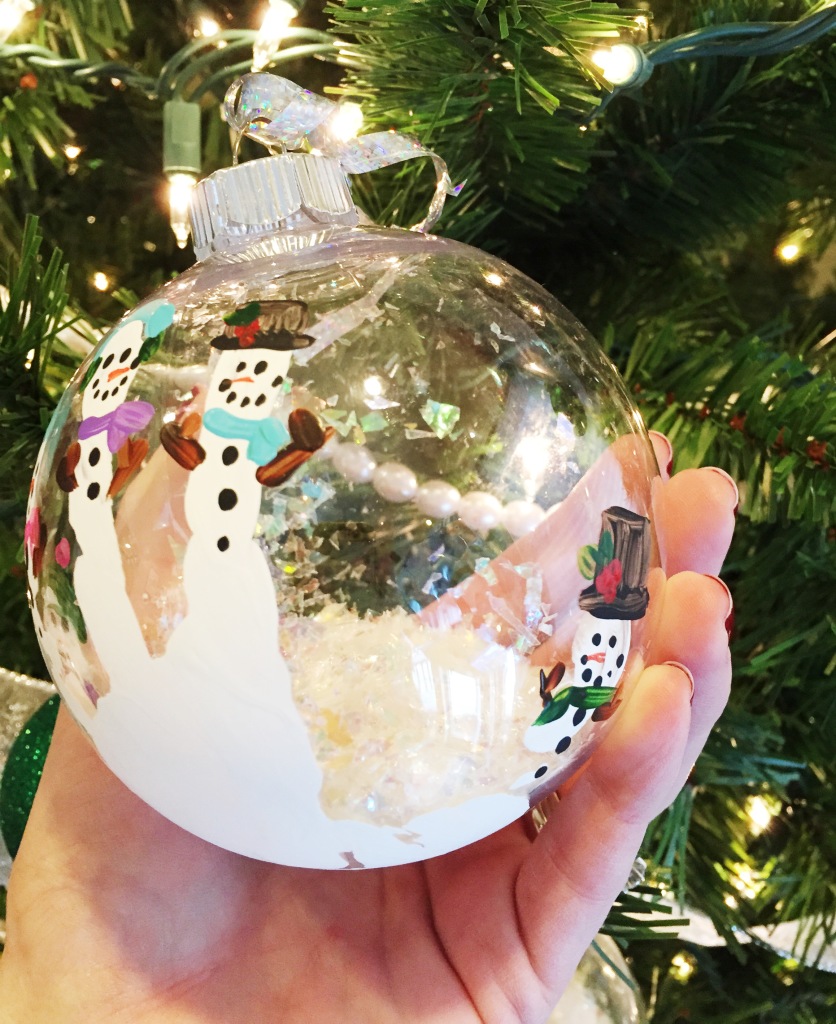
Open the top of the ornament and put the snow flakes into the ornament. I found the using a funnel and a pen to shove the stubborn flakes down worked really well. You can put as much or as little in as you want, but I only filled mine up about 1/4 of the way.
Step 6:
Wrap to give away or hang on your tree!
TOOT TOOT! Seriously sorry for tooting my own horn, really it’s just a proud mommy moment, but how cute are these?! I know this is a SUPER popular craft on Pinterest right now (speaking of, “pin” mine if you like it!) but I thought it would be nice to show a simple step-by-step that was not intimidating. This *won’t* be a “Pinterest fail”, promise : )
Again, thank you for reading and have a great weekend!! XO


