Leah Tackles

  • Home
  • About
  • Policy
  • Beauty
  • Fashion
  • Cooking
  • Exercise
  • DIY Projects
  • Decor
  • Book Club
  • Family

DIY LIPSTICK HOLDER AND ORGANIZER!

April 23, 2014 & Leave a Comment

Hi there! Happy Wednesday!

I love lip products, and even though I have large makeup storage drawers, my lip products are always sliding around and unorganized which I hate! I absolutely love the look of the acrylic lipstick holders that you can buy on amazon or other websites, and I will probably eventually get one of those to display my most used lipsticks on my vanity, but I needed something for all my other lip products. I recently came across a video tutorial from ItsKeerstin where she recreated and modified a super inexpensive and practical way to organize all of her lipsticks…it’s awesome and I wanted to share my own version as well! ItsKeerstin is  hilarious and I really enjoy her videos!! You can easily decorate it to make it fit your style, or keep it pretty simple like I chose to do since I will be keeping it in a drawer. If you like today’s tutorial, please considering hovering over any of the pictures until you see the pink “pin” button and pinning it to your Pinterest account… I appreciate it!!


SUPPLIES:


DIY-Lipstick-Holder.jpeg


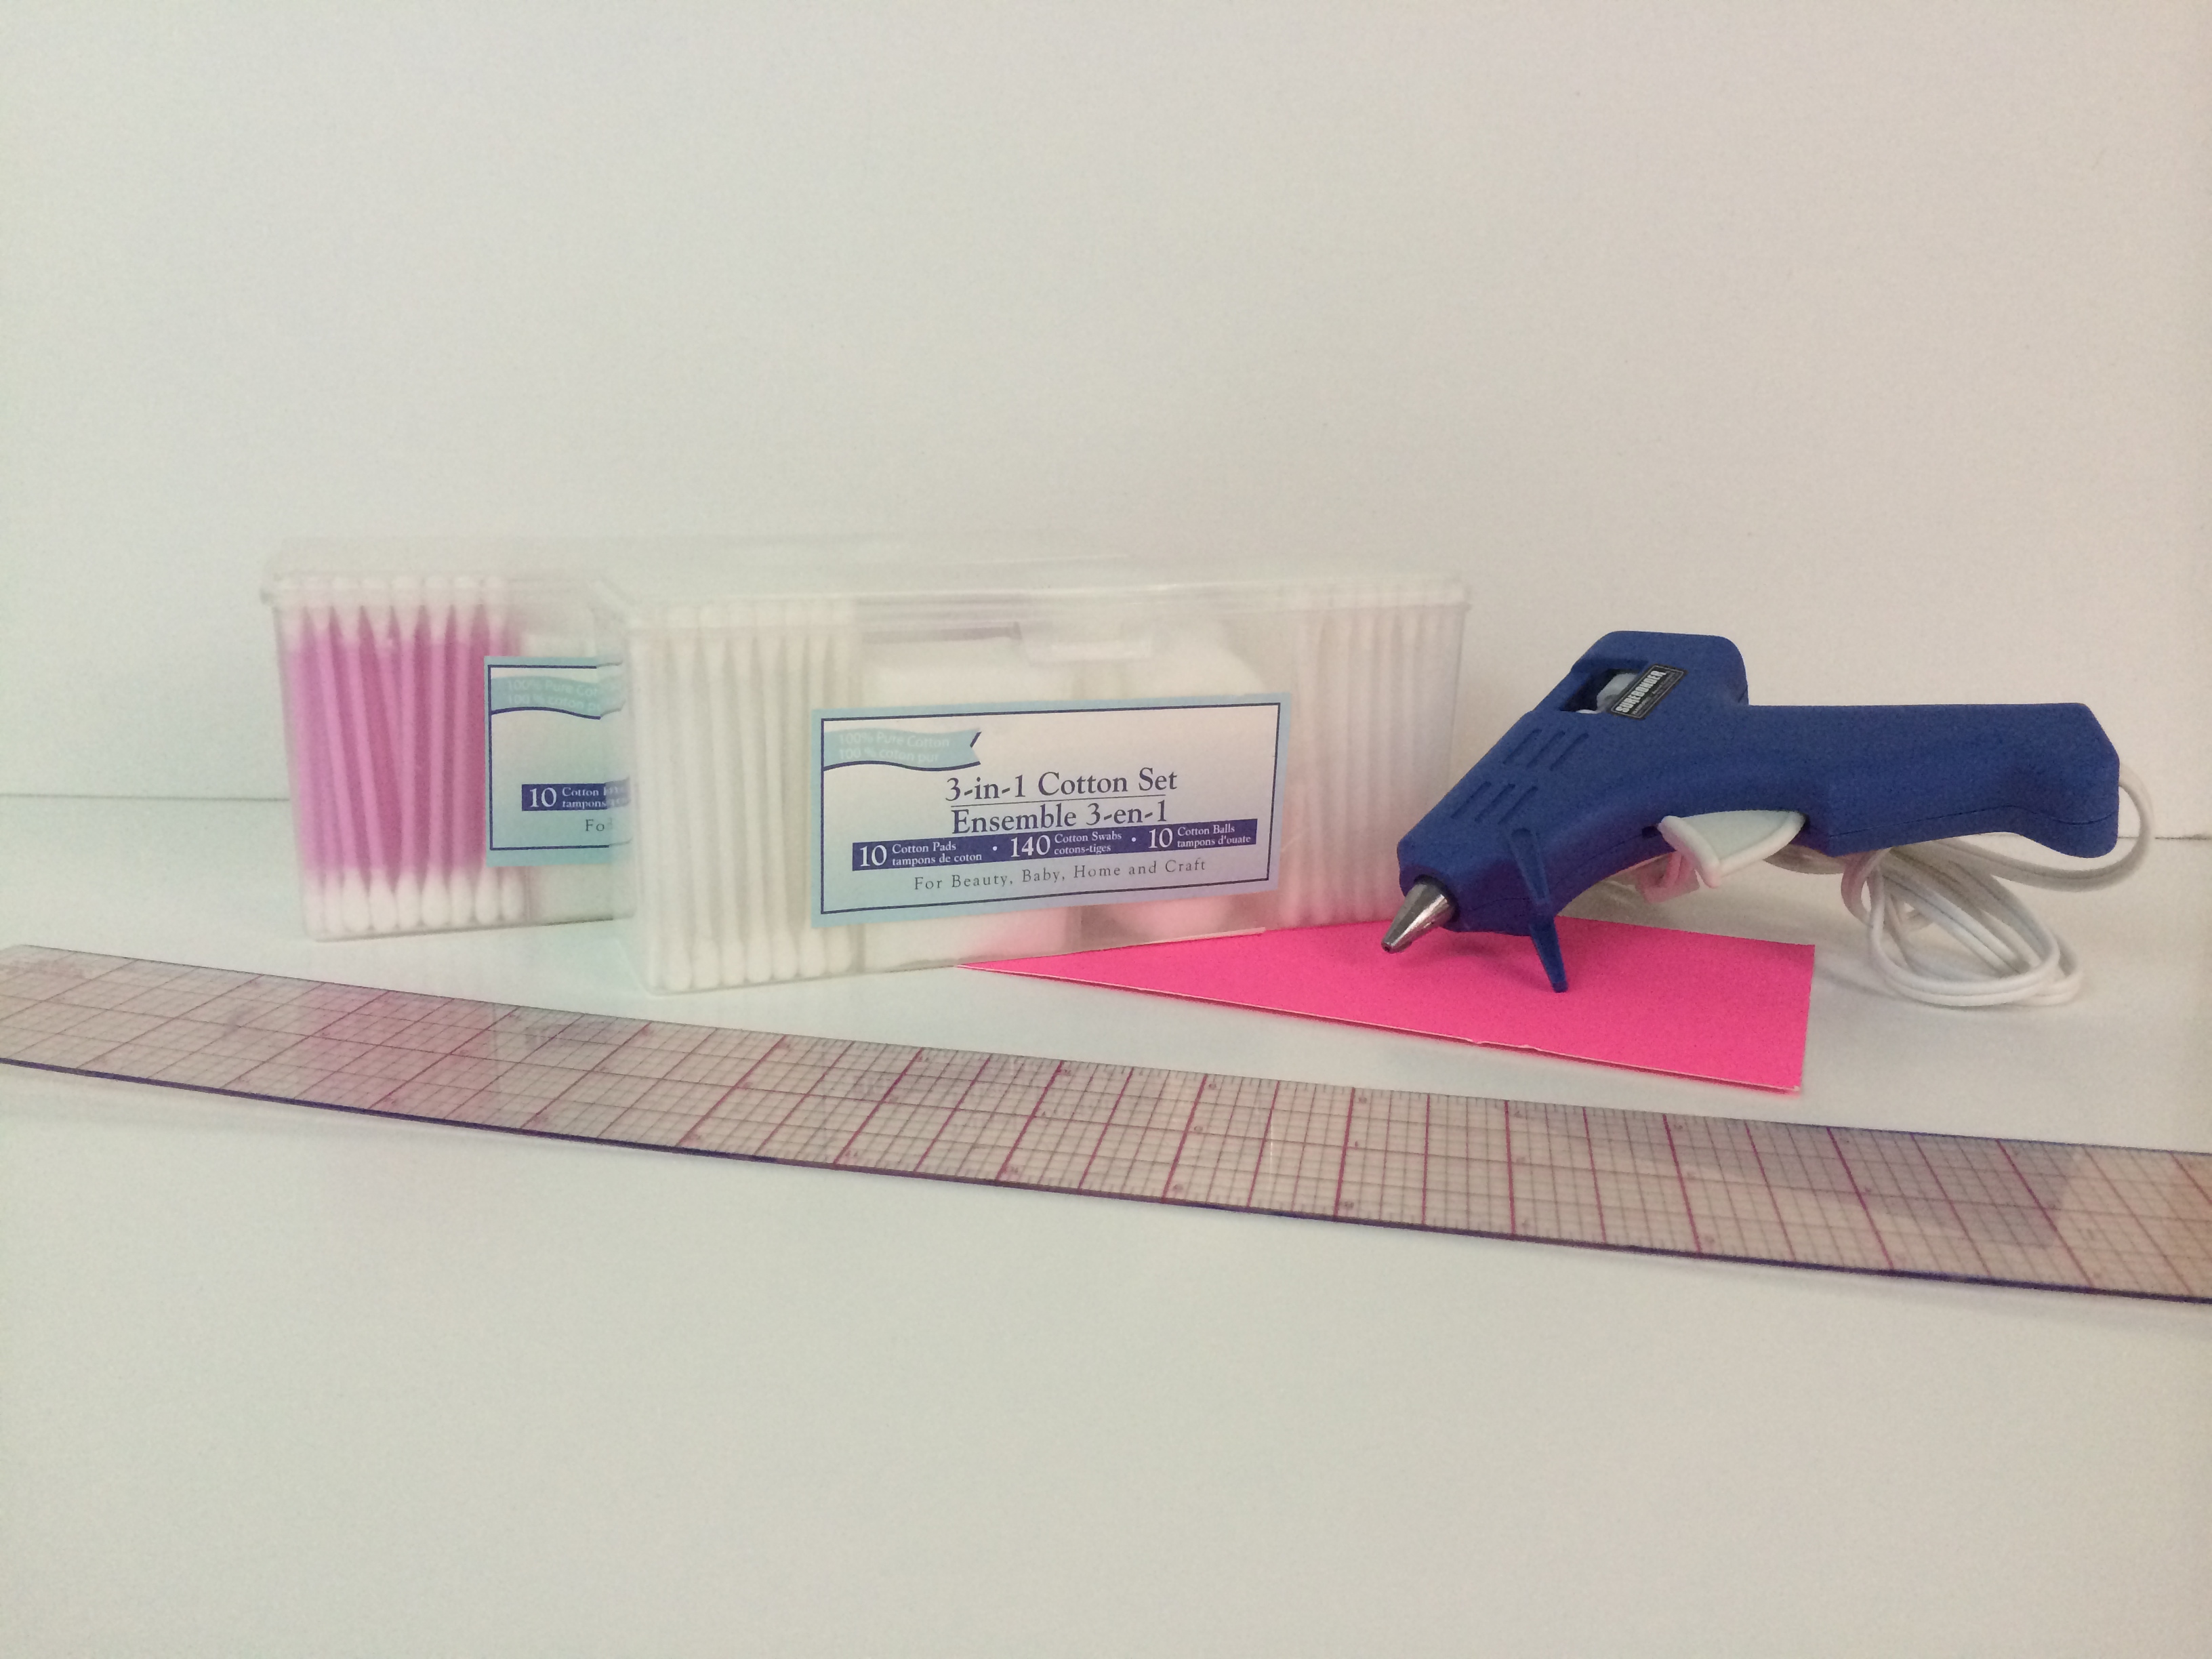
3-in-1 Cotton Sets from Dollar Tree (I used 2 but you can get more for a bigger storage container. I have only seen these at Dollar Tree, but I did find the 3-in-1 Cotton Set on Amazon, although there is $4 shipping)

Thick cardstock, cardboard, or poster board in the color of your choice

Scissors or a paper cutter

Glue gun


COST:

Less than $10 (mine cost $2!)


STEP 1:

Empty out the cotton swabs, cotton swabs, and cotton balls from the Cotton Set box. Then, soak the box in hot water or use Goo Gone to remove the labels on the box.


STEP 2:

I cut out my poster board to fit 2 of the Cotton Set boxes ahead of time with a pair of scissors simply by tracing them with a pencil onto the paper.


STEP 3:

Cut the lid off of the Cotton Set box with a pair of sharp scissors (it was a lot easier to get a clean cut then I thought it would be!)
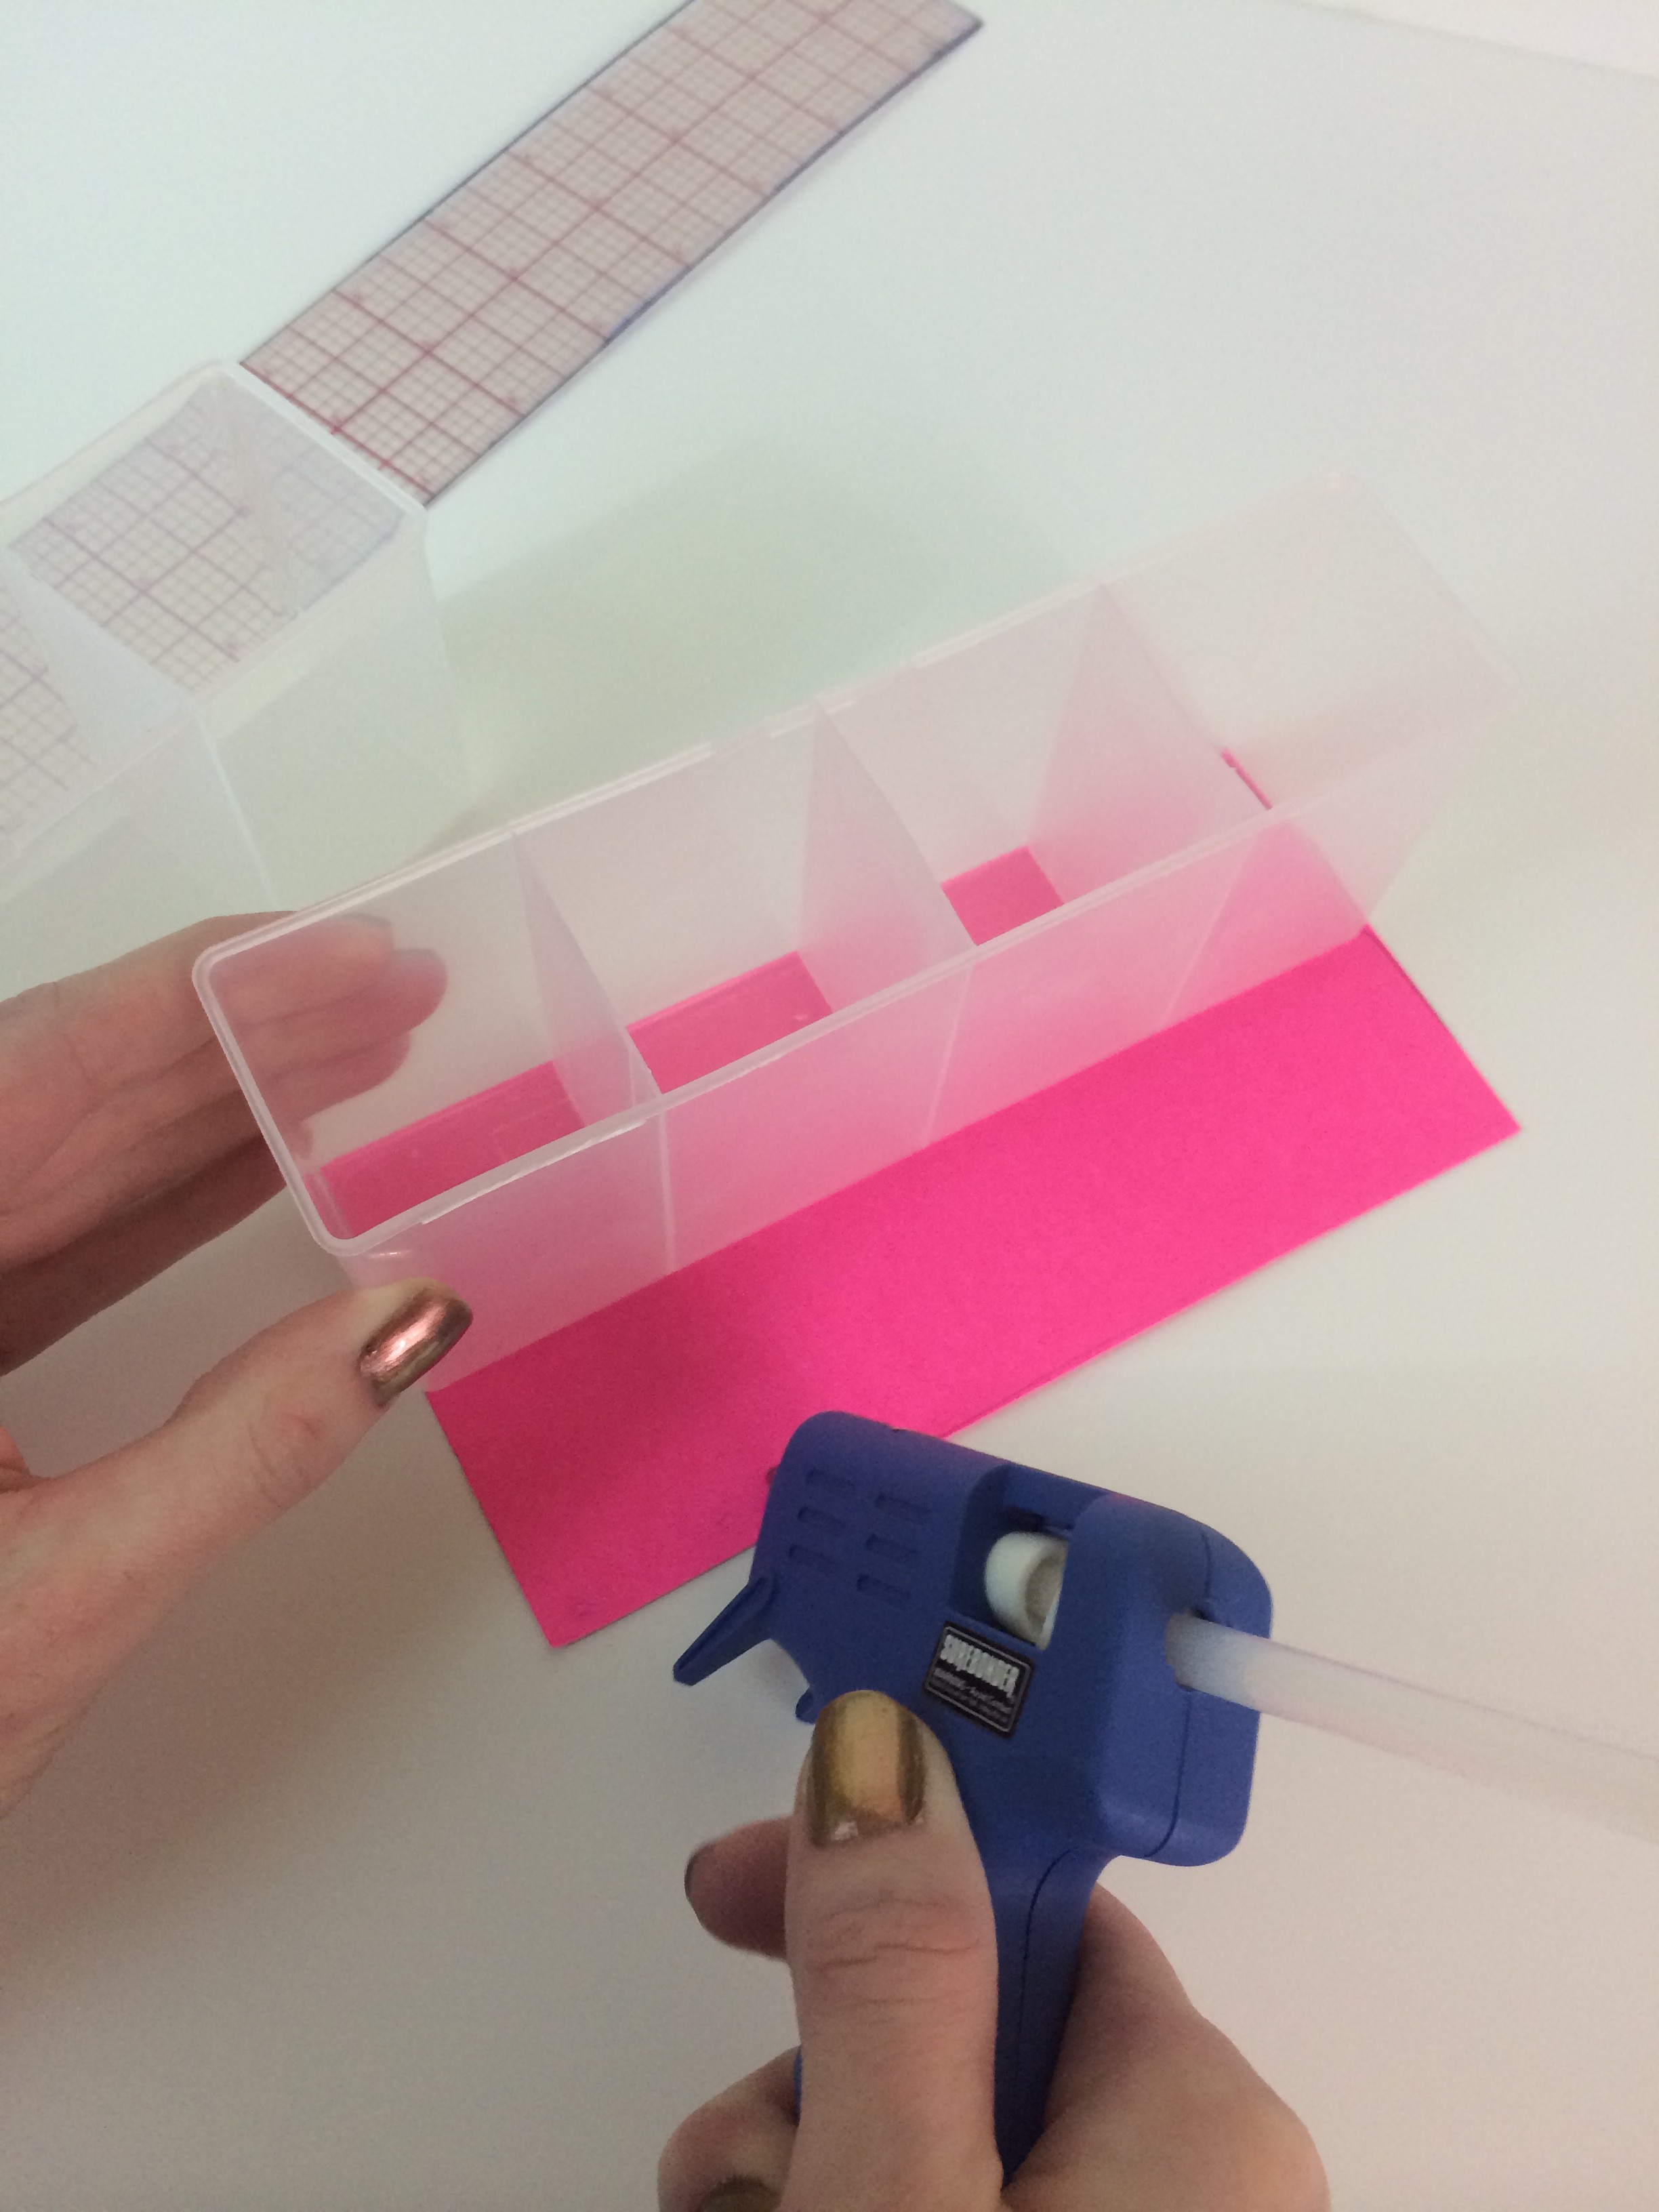
 

DIY-LIPSTICK-STORAGE.jpeg


STEP 4:

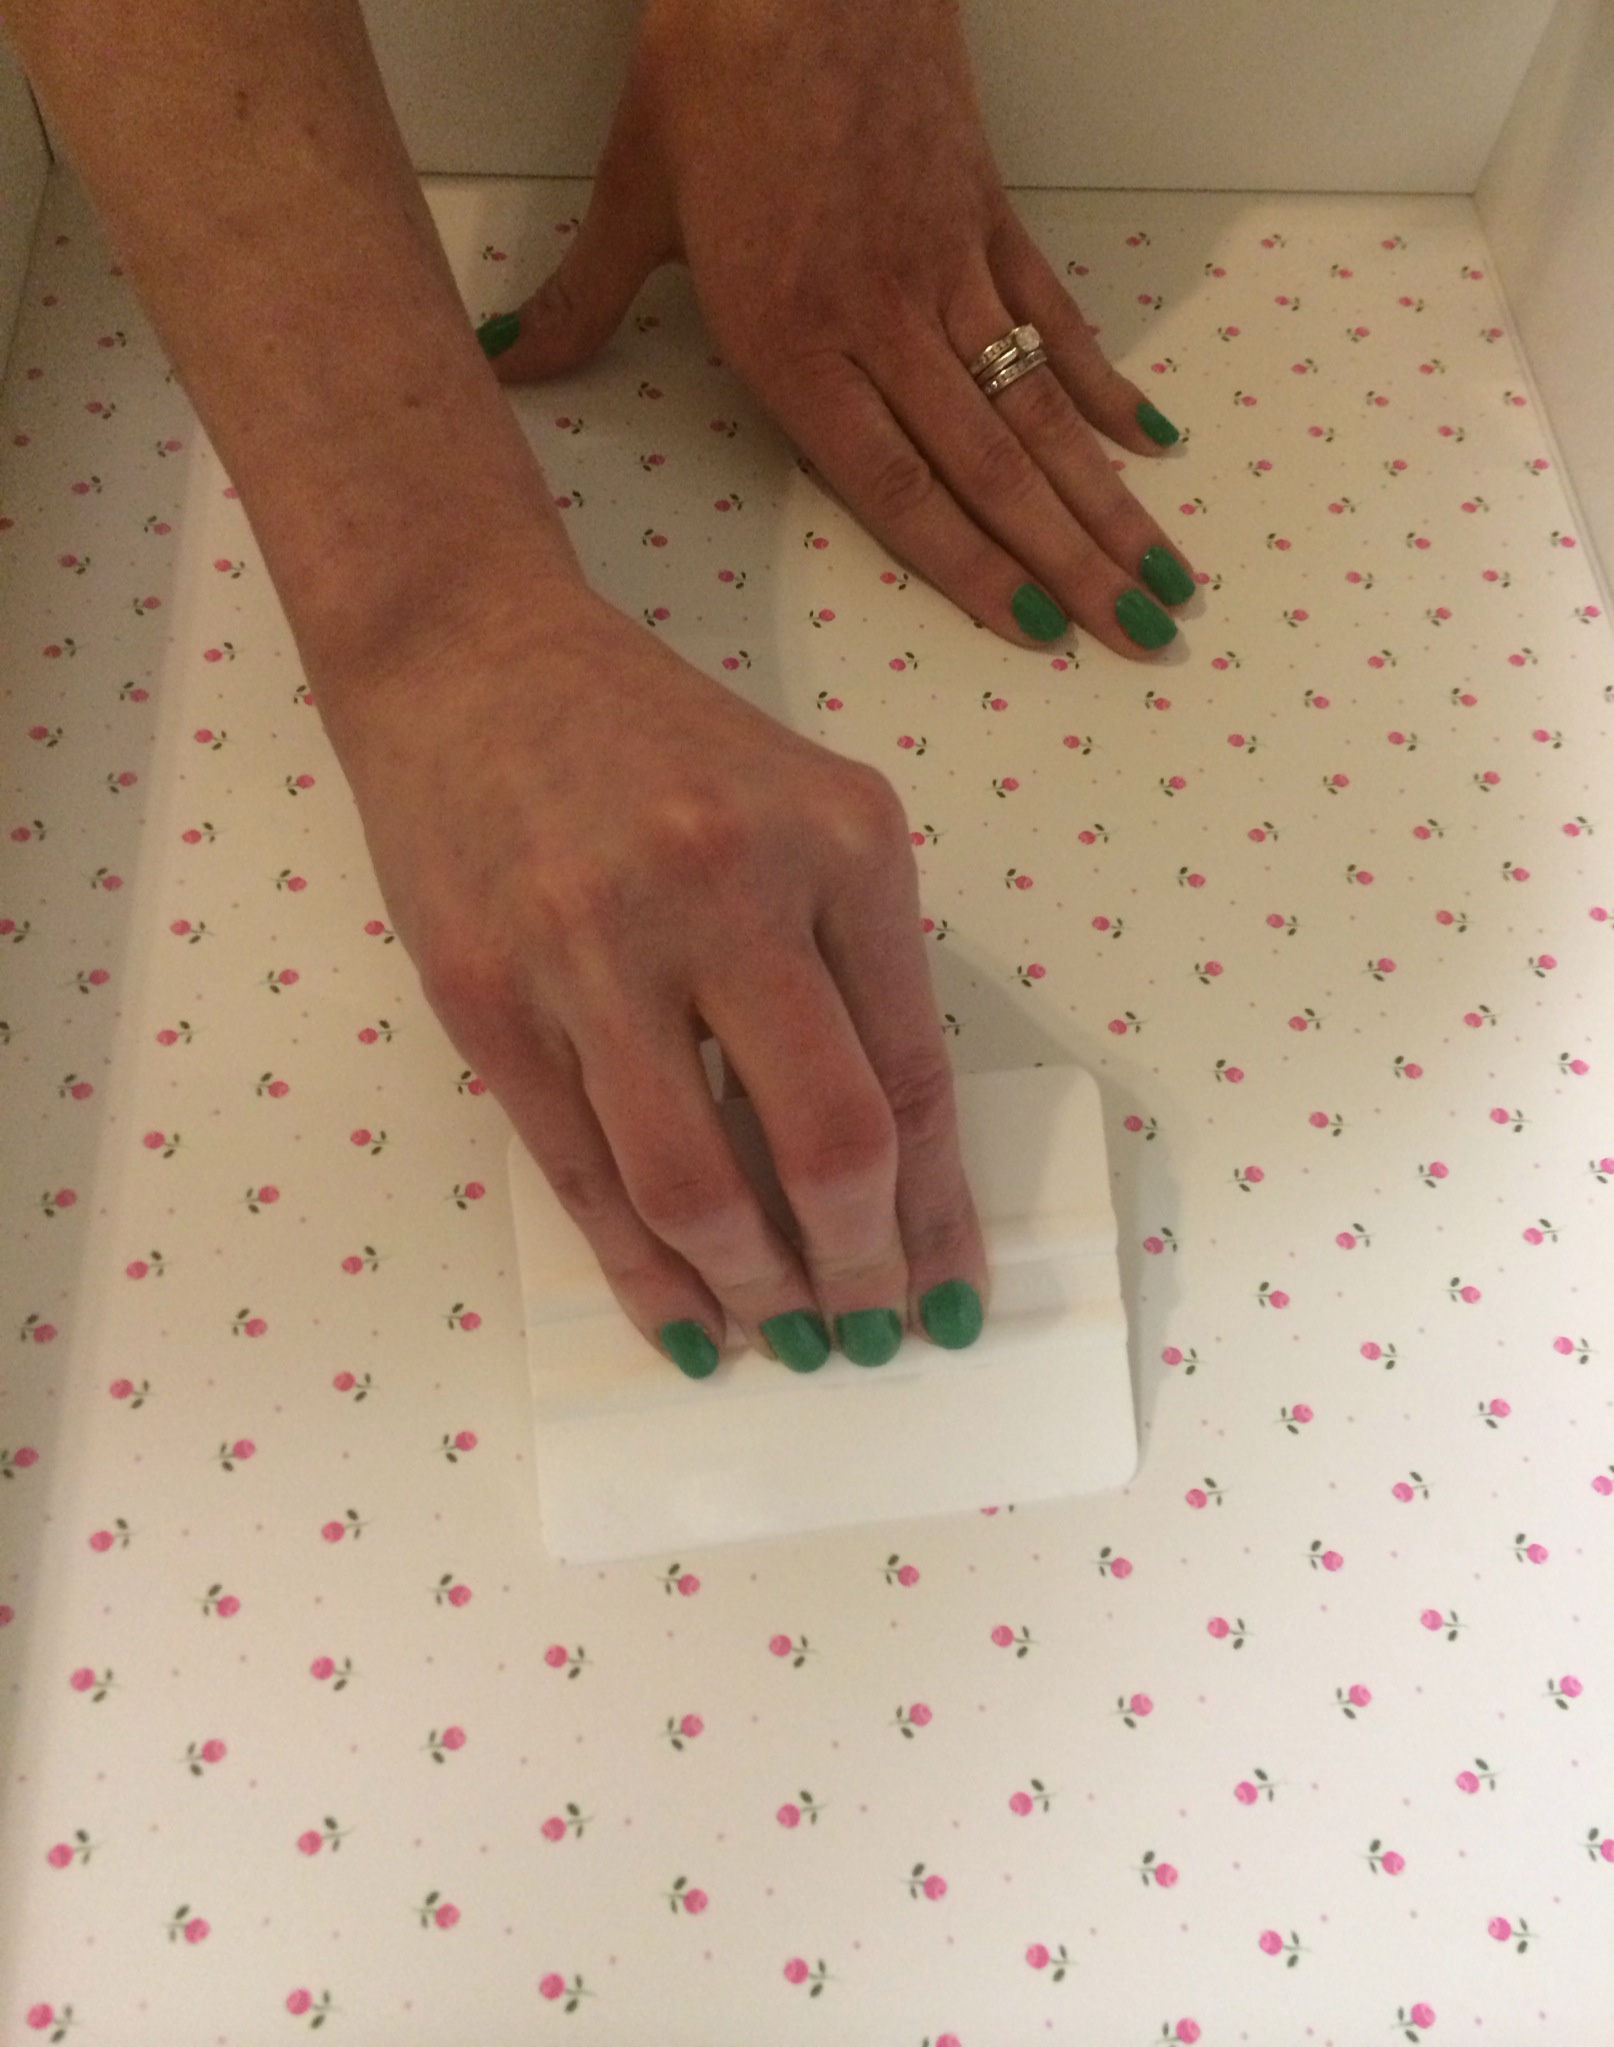
Be sure to have everything set up how you need it because hot glue sets quickly! Use your hot glue gun to put two lines of glue down the length of the poster board or cardstock for the first Cotton Set box and press it onto the glue. Do the same thing with the next Cotton Set box and so on. Be sure to have all of the boxes facing the same way if you are doing more than two boxes, otherwise the tab from where the lid would have snapped closed will cause the boxes to not line up perfectly.
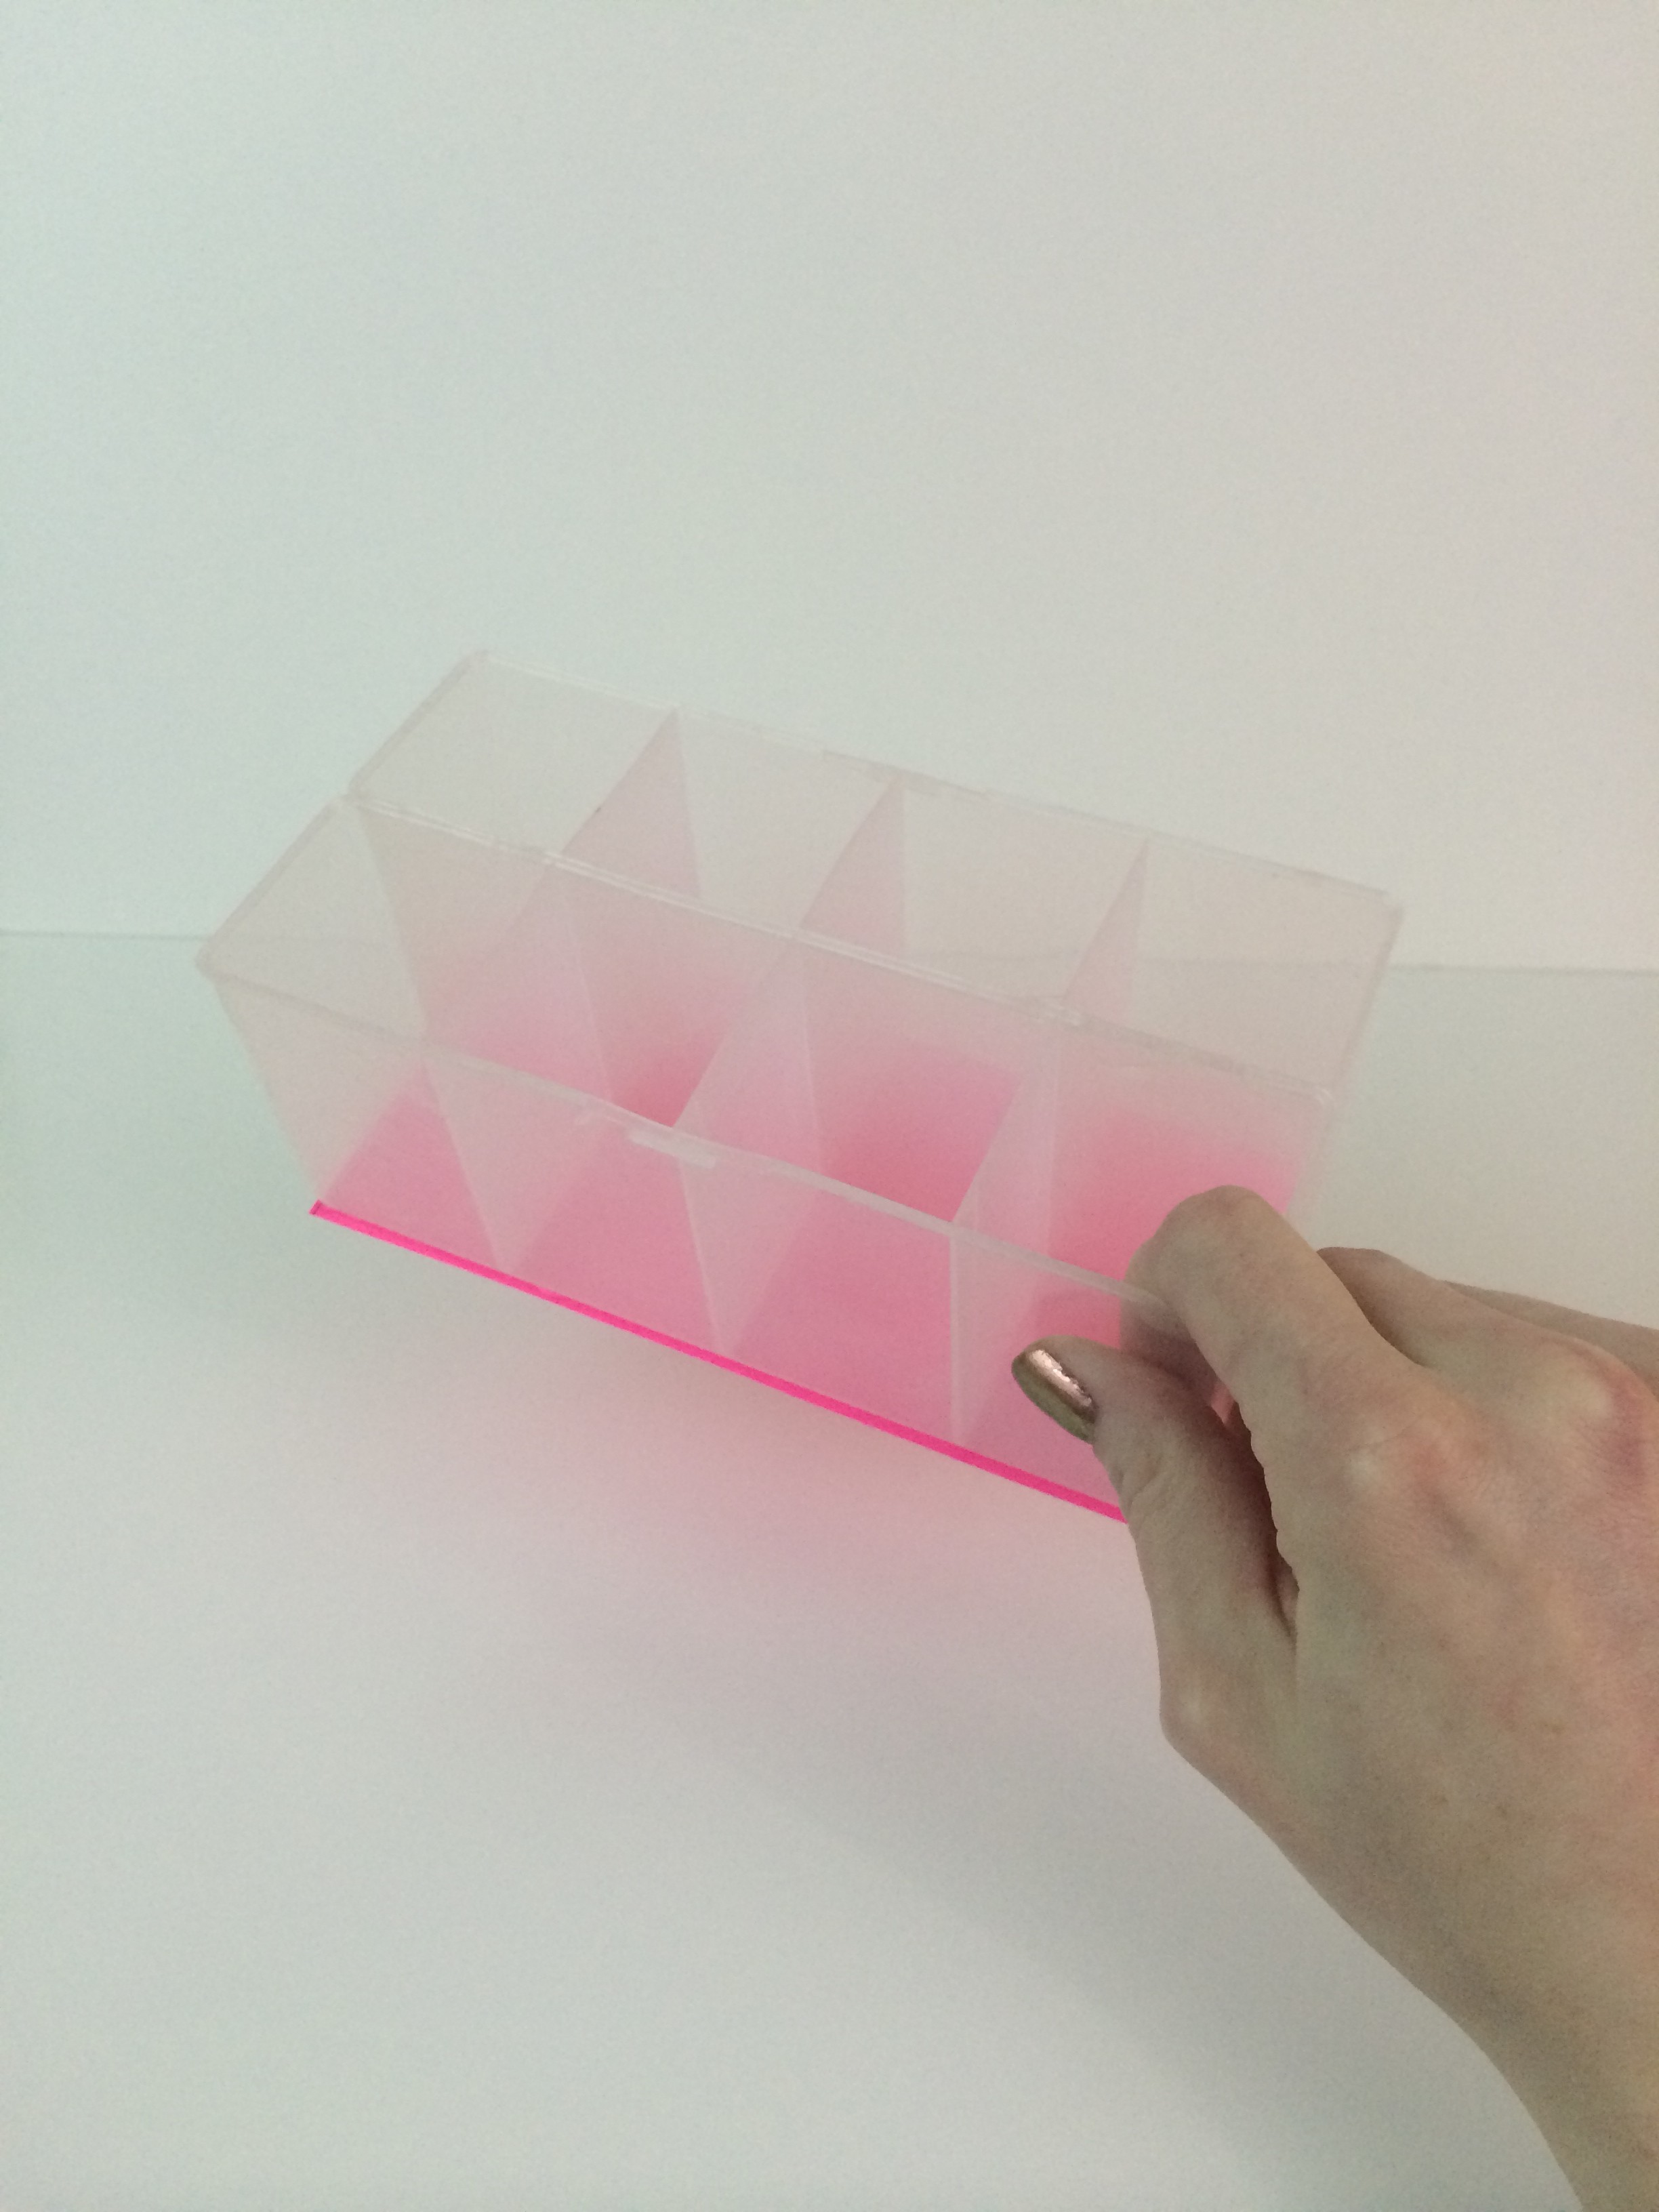
 

lipstickstorage-diy.jpeg


STEP 5:

Carefully put a line of glue between the boxes and press together (you only have to do this at the very top, and you only need a tiny amount of glue because it’s more important to work fast then to get a perfect line).


lipstickholder-diy.jpeg


STEP 6:

Decorate the box if desired or leave so that it is clear on the sides like I chose to do.


lipstick-holder-diy.jpeg


STEP 7:

Fill the box with lots of lippies!!


lipstickholderdiy.jpeg


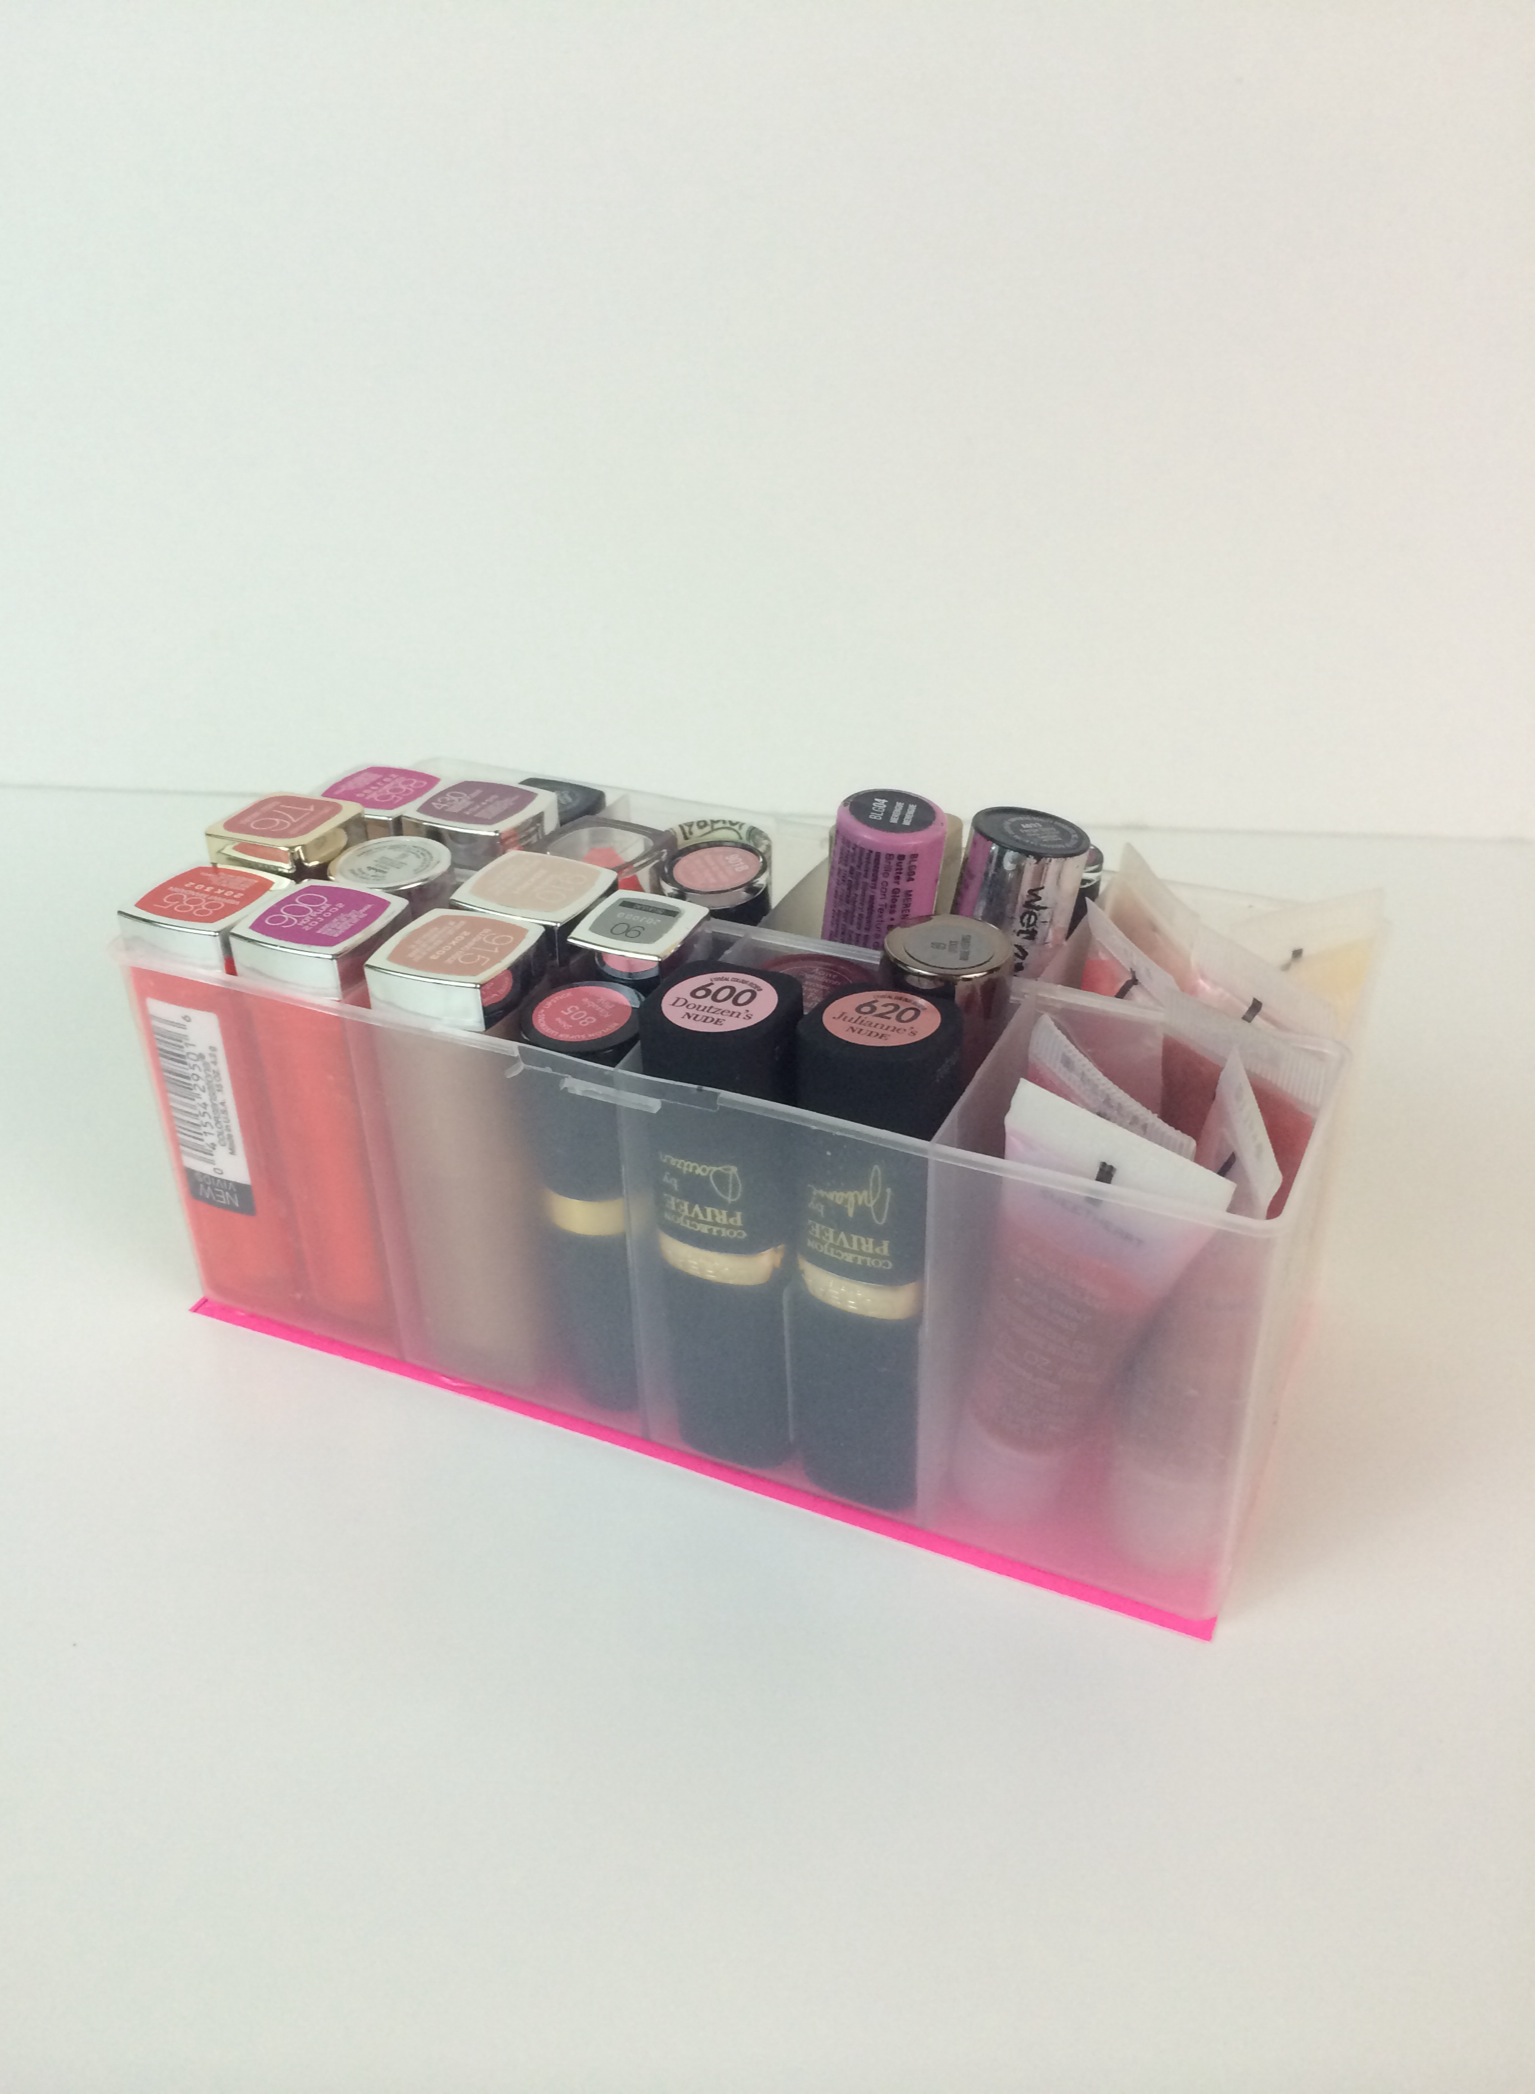
I hope that you enjoyed today’s quick and inexpensive DIY project! If you try this out for yourself or have any questions, please comment (click the link by the title of this post!) or find me on Facebook, Twitter, or Instagram! Thank you so much for reading this and thank you SO much to those of you who have subscribed to my blog! To subscribe, enter your email on the right side of this page in the “subscribe” box…it’ll make my day ; ) I hope you have a fantastic day and I will talk to you on Friday!!


FacebookTwitterEmailPinterestShare

Filed Under: Beauty, DIY Projects Tagged With: beauty blogger, blogger, diy, diy beauty, diy lipstick holder, diy project, do it yourself, dollar tree, leah tackles, lippies, lipstick, lipstick holder, lipstick organizer, lipstick storage, make up, makeup storage, organization

Easy Apothecary Jar DIY Project!!

April 7, 2014 & 1 Comment

Hi There!! Happy Monday!

Today I have a super simple DIY project to share with you using apothecary jars. If you’re not familiar with the name, apothecary jars were originally used to mix medicines by an apothecary (a person who mixed medicine), but today are used as decorative displays that you would probably recognize if you saw them.  I first started seeing all of the fun decor ideas out there using apothecary jars back when I was planning my wedding about 5 years ago. I loved them so much that I asked if they could be used at one of my bridal showers for a candy buffet. I know that lots of people use them for showers, weddings, or parties, so you may have some yourself or know somebody who has a bunch lying around. If not, they are available at Michael’s, Hobby Lobby, or other craft stores.


apothecary-diy-glitter.jpeg


I am a lover of glittery, sparkly, beautiful things done in a grown up way! This can be hard to achieve and somebody who inspires me and does this so well is Lauren, the owner of Pearls and Pastries. Once I finish the gallery wall above my desk, I will talk more about her and her fabulous style. I have a cheap faux pearl necklace from Forever 21 that I don’t reach for anymore and that is what started the wheels turning for this DIY. I put the pearls in a mason jar on my desk and loved it! So I went out and bought a few supplies and created the newest edition to my desk. I also pinned other ideas that I love for apothecary jar displays on my Pinterest! If you like this post, please hover over any of the pictures and click the pink “pin” button to put it on your own Pinterest page.


SUPPLIES:

An apothecary jar (or a de-potted candle or mason jar would work as well. If you’d like a tutorial on de-potting your candles, please comment (click on the link by the title of this post) or ask me on Facebook, Twitter, or Instagram!

Pearls, beads, rhinestones, and sequins


WHAT I PURCHASED:


apothecary-jar-diy.jpeg


Note: I purchased all of these at Walmart in the crafting section if you’re looking for the same items, but next time I plan to check out a speciality bead shop that is nearby for more choices. Any craft store or big box store would most likely have all of these types of items.

2 small tubes of gold sequins for $1.50 each

3 packs of pearl beads (975 beads) for $3.97 each

2 packs of plastic “princess” beads (approximately 450 beads) for $3.97 each

1 box of acrylic jewels (approximately 300 rhinestones) for about $6

1 apothecary jar that I already had (about $10-30 at Hobby Lobby depending on size)

STEP 1:

I took my time pouring the different beads and rhinestones into the jar, alternating them carefully so that there was enough of each layer to see them all.

STEP 2:

Once all of the beads and rhinestones were in the jar I used my fingers, a capped pen, and craft tweezers (all worked, but the tweezers helped the most for further down in the jar) to turn around the rhinestones where the bling side wasn’t showing. You could skip this step if you don’t use rhinestones or if it doesn’t bother you.

STEP 3:

Enjoy your new decoration! I put mine on my desk, with all my other girlie favorites, but this would also look beautiful as a centerpiece, on a shelf, or a bookcase. Please keep in mind if you have pets or small children that this is basically a jar filled with 1000’s of choking hazards, so keep it in a place that is out of reach!


photo 3 (10)


I hope you have enjoyed this short and sweet DIY project! If you try this out, or another projects using apothecary jars I would LOVE to hear about them or see them!! Comment down below (click the link by the title of this post) or find me on Facebook, Twitter, or Instagram! Stay tuned Wednesday this week for a simple Easter/springtime candy that looks as good as it tastes. As always, please share this post on social media if you’ve liked it and subscribe by entering your email in the box on the right side of this page! I hope you have a fantastic week!


FacebookTwitterEmailPinterestShare

Filed Under: DIY Projects Tagged With: apothecary diy, apothecary jars, decor, diy, diy project, do it yourself, easy diy, fun diy, girly, glitter, hobby lobby, leah tackles, michaels, pearlized, pearls, rhinestones, sequin

Easy Contact Paper DIY Project!!

March 17, 2014 & Leave a Comment

Hi there! Happy Saint Patrick’s Day!!

Today I want to show you a super simple diy project using contact paper. Contact paper is a thin paper like material that usually has a decorative design on one side and a sticky adhesive on the other side. This weekend was my first experience with contact paper and I want to show you a photo step-by-step how-to. I bought this contact paper several weeks ago, but kept putting off lining my desk drawers because I was intimidated since I had never used contact paper. I was worried I would waste the paper or damage my desk, but I was making it out to be scary and it really isn’t.

I lined my desk drawers, but I have seen some amazing projects on Pinterest doing all sorts of things with contact paper. I really want to do a bookcase next!

SUPPLIES:

Contact paper (I got mine from www.interiorplace.com)

Scissors or a paper cutter

A ruler (a clear one really makes it easy)

A pen or pencil

A small plastic squeegee (*optional but it REALLY helps!)

STEP 1:

Measure the size of the item you want to decorate with contact paper

contact paper diy

STEP 2:

Use your ruler and pen or pencil to mark how much contact paper you will need.

diy contact paper

STEP 3:

Carefully cut your paper out.

diy contact paper

STEP 4 (the most tricky and important step!):

Peel off the first couple inches of the backing on the roll of contact paper and put the corners into the corners of your drawer or whatever you are decorating.  Slowly unroll the contact paper and smooth it down as you unroll.

STEP 5:

Use the squeegee to smooth over the paper…this helps with any bubbles or wrinkles that may have happened while unrolling the contact paper.

diy contact paper


STEP 6:

Enjoy your masterpiece! How adorable is that?!

diy contact paper final

COST:

This project only cost me the price of the contact paper (around $12) because I had all of the other items on hand at home.

What diy projects have you tried recently? Are there any projects that you are intimidated by and still want to attempt?  If you have any questions or if there is a project you’d like to see on  leahtackles.com; Tweet me, find me on Facebook, Instagram or comment at the top of this post! If you enjoyed this post, please subscribe.

FacebookTwitterEmailPinterestShare

Filed Under: Decor, DIY Projects Tagged With: contact paper, diy, do it yourself, doityourself, drawer, drawer liner, easy, girly, home, home decor, interior place, office, pinterest, project, rosebud print, update


SUBSCRIBE

Leave your email to subscribe!

SEARCH

SPONSORS

ARCHIVES

GRAB MY BUTTON


copy & paste code

site design by The Kinch Life Design & development by Olive & Ivy Design

Catch The Webinar Replay! Boundary Setting For Entrepreneurs

Go to leahtacklessocial.com and sign-up for the link!