Hi there! Happy Wednesday!
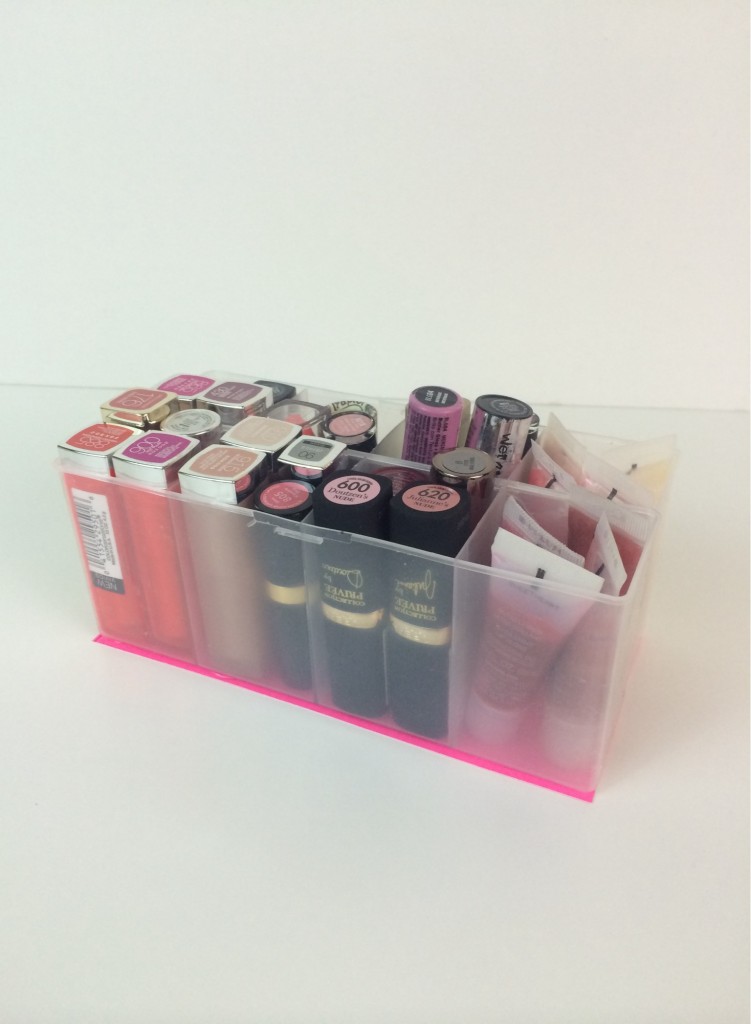
I love lip products, and even though I have large makeup storage drawers, my lip products are always sliding around and unorganized which I hate! I absolutely love the look of the acrylic lipstick holders that you can buy on amazon or other websites, and I will probably eventually get one of those to display my most used lipsticks on my vanity, but I needed something for all my other lip products. I recently came across a video tutorial from ItsKeerstin where she recreated and modified a super inexpensive and practical way to organize all of her lipsticks…it’s awesome and I wanted to share my own version as well! ItsKeerstin is hilarious and I really enjoy her videos!! You can easily decorate it to make it fit your style, or keep it pretty simple like I chose to do since I will be keeping it in a drawer. If you like today’s tutorial, please considering hovering over any of the pictures until you see the pink “pin” button and pinning it to your Pinterest account… I appreciate it!!
SUPPLIES:
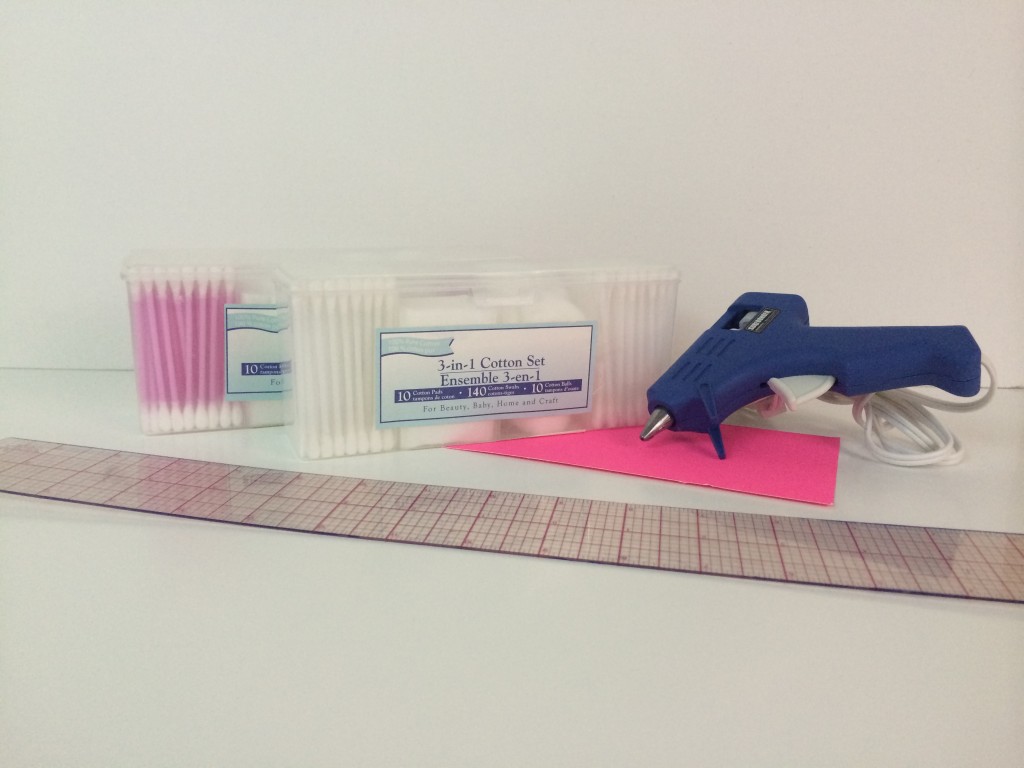
3-in-1 Cotton Sets from Dollar Tree (I used 2 but you can get more for a bigger storage container. I have only seen these at Dollar Tree, but I did find the 3-in-1 Cotton Set on Amazon, although there is $4 shipping)
Thick cardstock, cardboard, or poster board in the color of your choice
Scissors or a paper cutter
Glue gun
COST:
Less than $10 (mine cost $2!)
STEP 1:
Empty out the cotton swabs, cotton swabs, and cotton balls from the Cotton Set box. Then, soak the box in hot water or use Goo Gone to remove the labels on the box.
STEP 2:
I cut out my poster board to fit 2 of the Cotton Set boxes ahead of time with a pair of scissors simply by tracing them with a pencil onto the paper.
STEP 3:
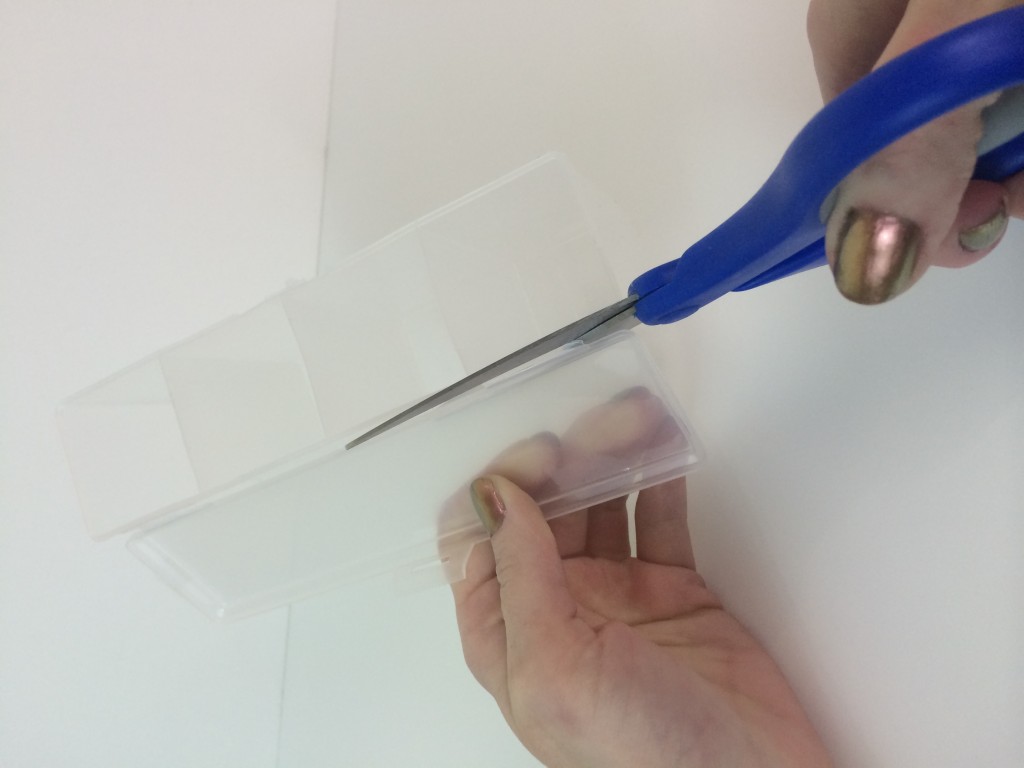
Cut the lid off of the Cotton Set box with a pair of sharp scissors (it was a lot easier to get a clean cut then I thought it would be!)
STEP 4:
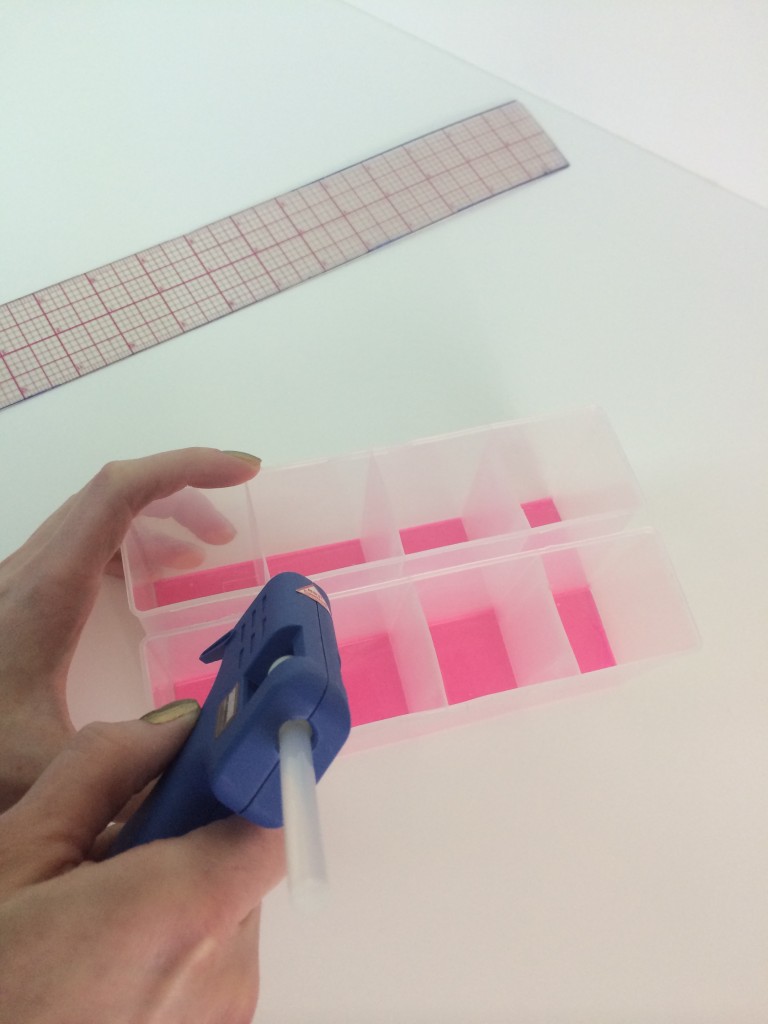
Be sure to have everything set up how you need it because hot glue sets quickly! Use your hot glue gun to put two lines of glue down the length of the poster board or cardstock for the first Cotton Set box and press it onto the glue. Do the same thing with the next Cotton Set box and so on. Be sure to have all of the boxes facing the same way if you are doing more than two boxes, otherwise the tab from where the lid would have snapped closed will cause the boxes to not line up perfectly.
STEP 5:
Carefully put a line of glue between the boxes and press together (you only have to do this at the very top, and you only need a tiny amount of glue because it’s more important to work fast then to get a perfect line).
STEP 6:
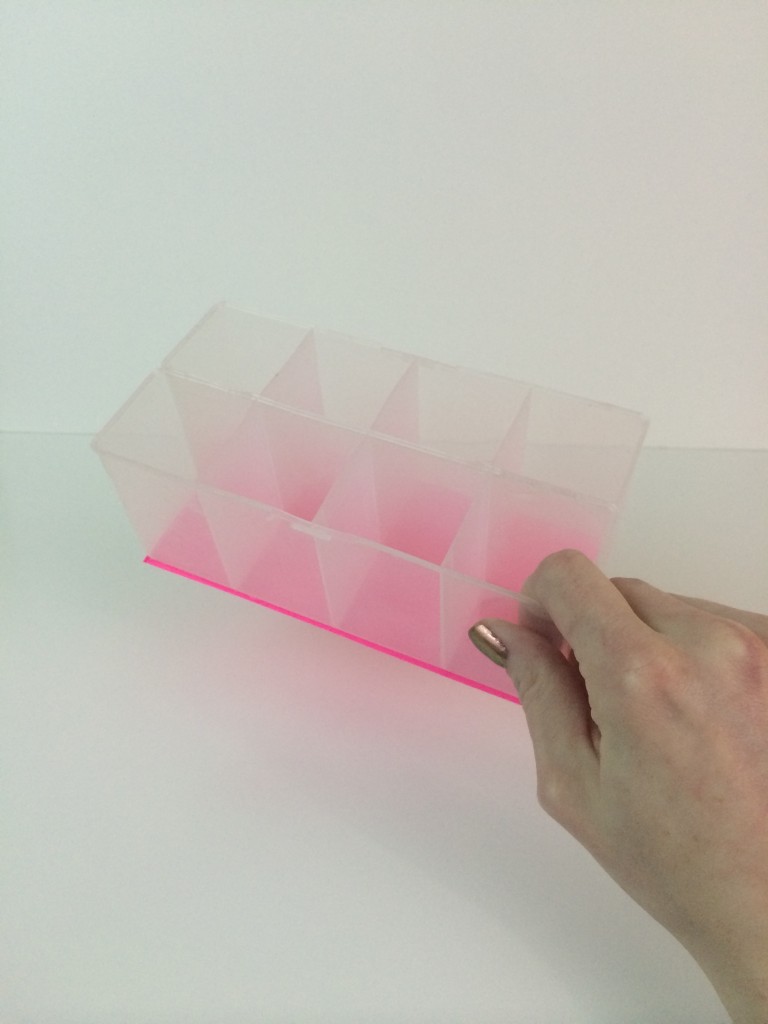
Decorate the box if desired or leave so that it is clear on the sides like I chose to do.
STEP 7:
Fill the box with lots of lippies!!
I hope that you enjoyed today’s quick and inexpensive DIY project! If you try this out for yourself or have any questions, please comment (click the link by the title of this post!) or find me on Facebook, Twitter, or Instagram! Thank you so much for reading this and thank you SO much to those of you who have subscribed to my blog! To subscribe, enter your email on the right side of this page in the “subscribe” box…it’ll make my day ; ) I hope you have a fantastic day and I will talk to you on Friday!!


