Hi there! Happy Wednesday!
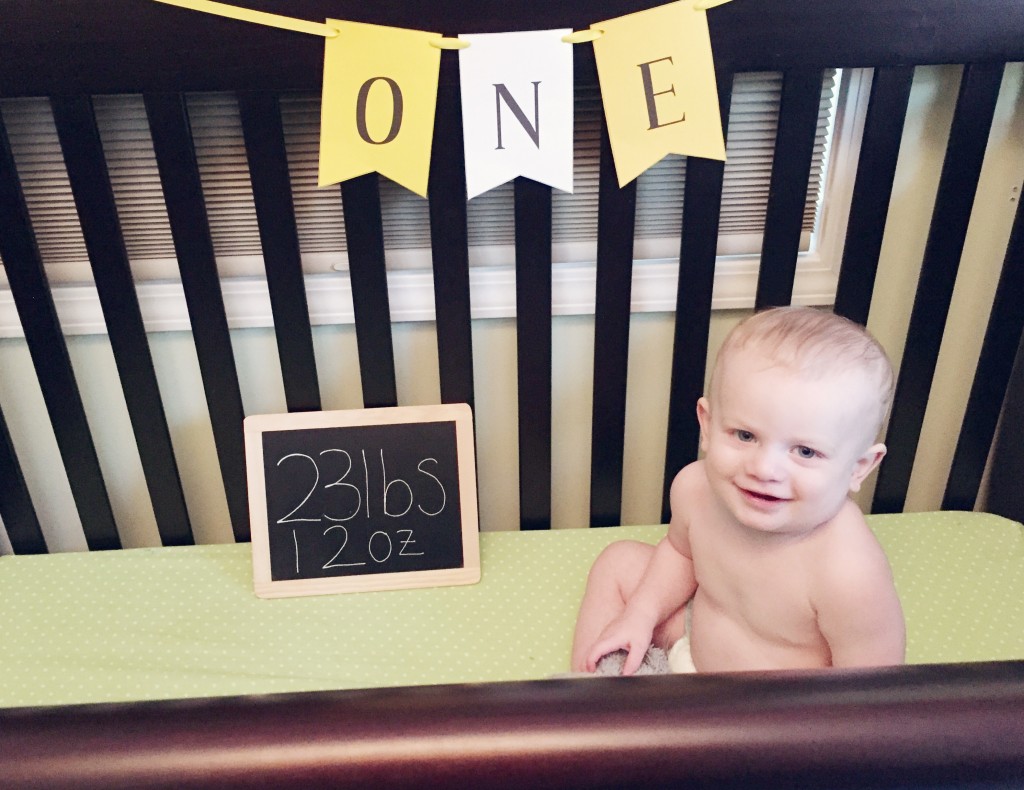
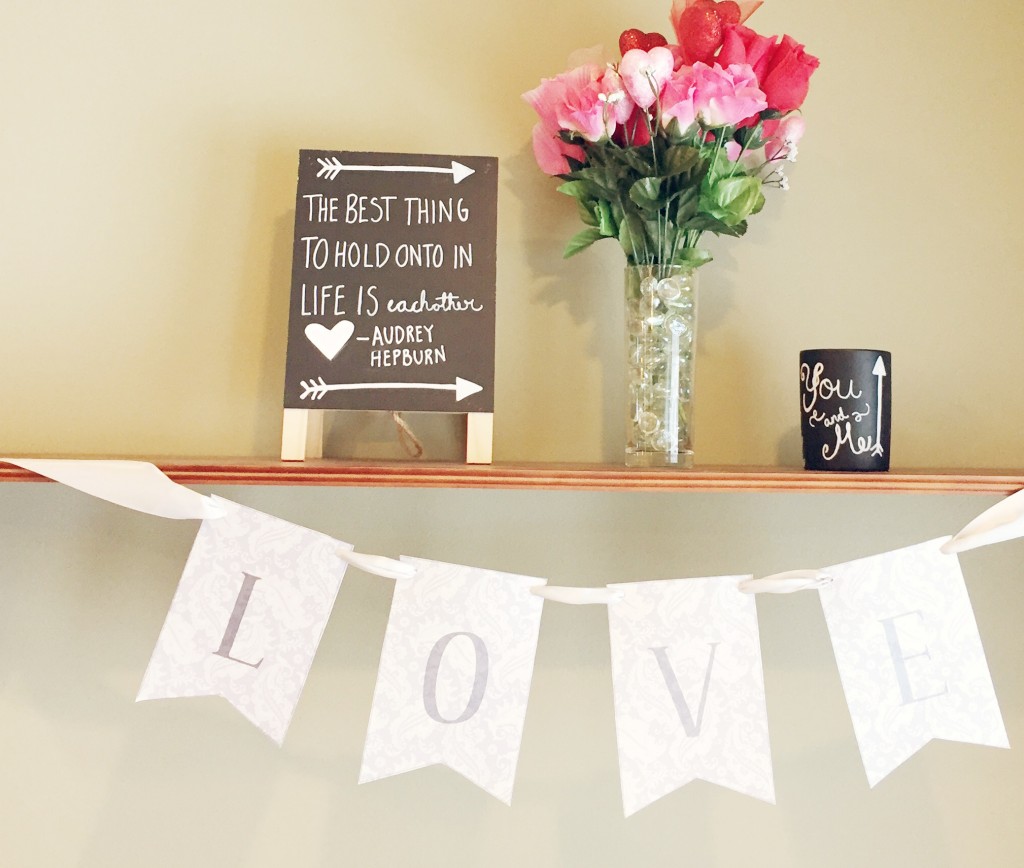
I hope that you’re having a fantastic week and thank you for reading! As most of you know, I absolutely LOVE Christmas! I say that I sing Christmas carols all year and that’s no exaggeration. I also put my tree up November 1st…yes, I’m on of *those* people. So, when I have to pack away my beloved Christmas decorations, it’s always a little sad. This year because the house felt so plain without all of the Christmas decorations, I decided to decorate for Valentine’s Day, which usually I do very minimally (read: window clings and kids art projects). I have basically a $0.00 budget for Valentine’s Day decorations, so I decided to do a few D.I.Y style. So, here is an easy DIY for bunting flags project that takes almost no time, and costs no or very little out-of-pocket money. I loved it so much that I made one for Logan’s birthday, too!
WHAT YOU’LL NEED:
-Cardstock
-Scissors
-Printer
-Ribbon, string, or bakers twine
Step 1:
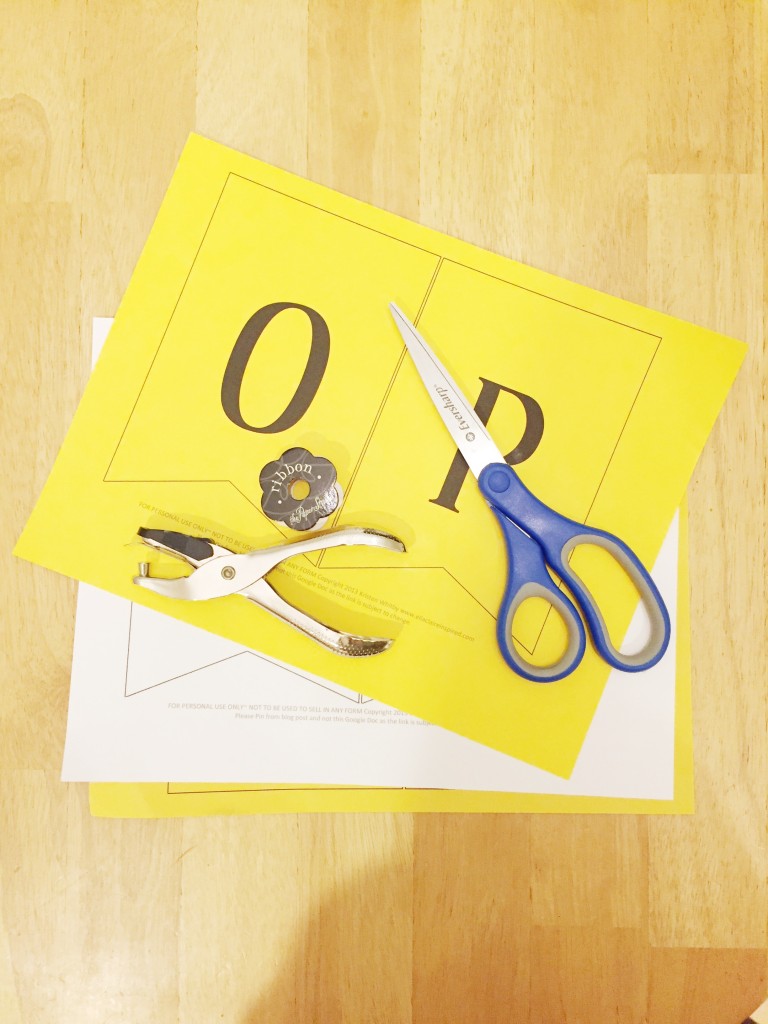
Use Ella Claire’s amazing free bunting printables and print off the letters you need onto the cardstock of your choice! Do not be intimidated by this!! All I did was select the print icon and then look to see which pages you need to print! So for example I needed 3,7, and 8 to spell “O-N-E” for Logan’s birthday bunting flags.
Step 2:
Cut out your flags.
Step 3:
Use a hole punch to punch a hole on either side of the top of each flag.
Step 4:
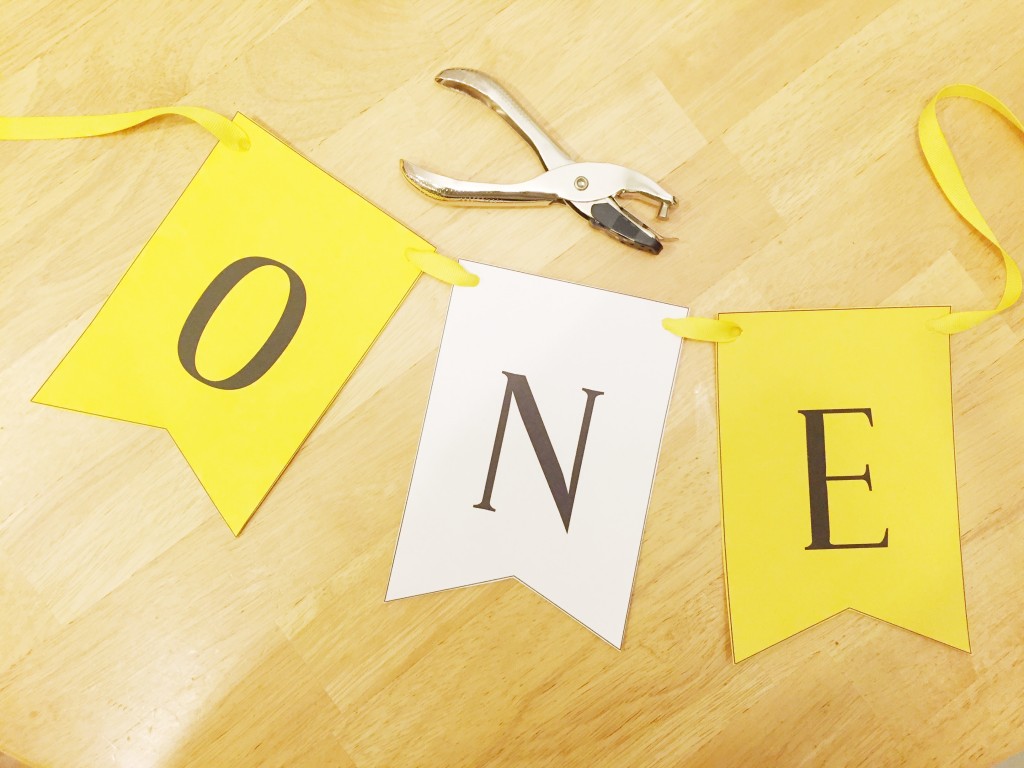
Starting with the ribbon (or whatever you’re using to string your flags) on the front side of the first letter and string each letter on. *Tip: Be careful not to pull the string, but instead gently slide the letters so that the paper doesn’t rip.
Step 5:
Hang up your adorable bunting and impress your friends ; )
If you found this helpful please considering sharing! You can “Pin” this post on your Pinterest account by hovering over any of the pictures or using the Pinterest share button at the bottom of this post. Thank you!


