Hi there! Happy Wednesday!
I have very fair skin, and while I’ve learned to embrace the pale these days I didn’t always feel that way! I started getting spray tans in high school, and I still love a great spray tan but those can be extremely pricy! I also will admit to the fact that I have used tanning beds (very minimally but still it makes me cringe!) in the past but haven’t been in one in about 6 years. Even though I’ve embraced my naturally fair skin, I do love how a bit of a tan makes my skin appear a bit more even, my muscles more defined, and overall just a nice healthy glow. And my favorite way to get a little glow going? Without any hesitation, at-home sunless tanning! I have been using sunless tanning products at home for about half my life now, and I have made plenty of sunless tanning mistakes along the way, but now I have some tips up my sleeve that really help me get a natural looking tan every time.

Exfoliate:
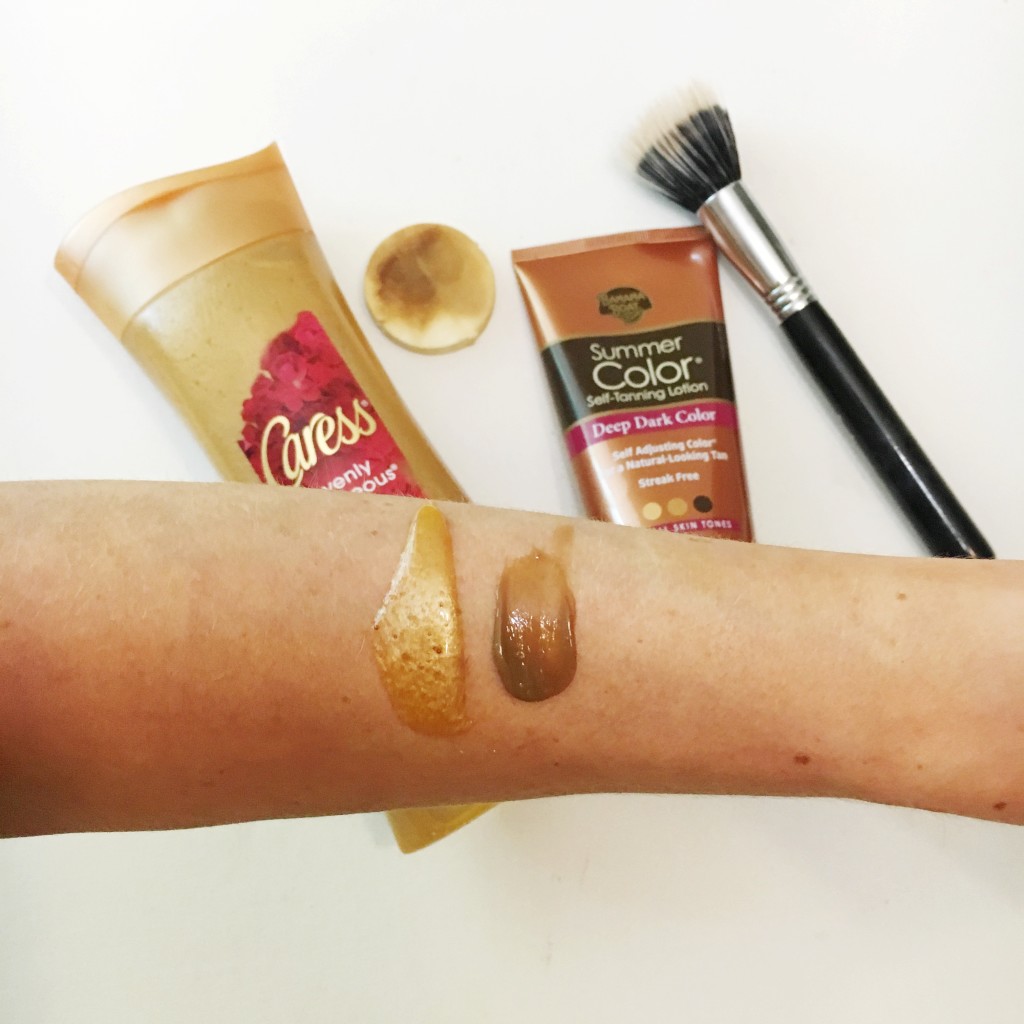
Okay, I know you’ve probably heard before that it is important to exfoliate before you tan you skin, but I of course have to throw that in because it is an important first step! I love my Caress Evenly Gorgeous Burnt Brown Sugar & Kartie Butter Exfoliating Wash! The name may be a mouthful, but this stuff smells incredible and works as well as higher end exfoliating products for me.
Skip Shaving:
If you shave you legs in the shower and then get out and immediately apply self tanner the tanner will go into the hair follicles you’ve just opened up and then you will have little dark spots visible all over your legs which isn’t as lovely as the slimming, flaw covering tan you can get if you wait 20 minutes or alternate your shaving and sunless tanning days. I like to shower at night, so I usually will shave one night and then the next night apply sunless tanner and just rotate nights to keep up on both my shaving and my summer glow.
Start Down and Work Up:
This sounds simple, but begin with your feet and legs and work your way up so that you’re not behind over to get your legs and creasing the sunless tanner that you’ve already applied to the rest of your body.
How To Apply To Your Back Without Help:
I LOVE using the St. Tropez Applicator Mitt for reaching hard to get places, like my back, and it also helps to get a nice even application without any awkward zebra stripes! You can also, if you’re reasonably flexible, put a little bit of your sunless tanner onto the front and back side of you hand and reach behind to tackle that challenging middle section of back. I also have been known to use a sunless tanning mist for my back, but I actually prefer lotion (loving the Banana Boat Summer Color right now!) for the rest of my body.
Use a Makeup Sponge or Makeup Brush:
This is my BIGGEST TIP! For years and years I always dreaded the telltale sign of a fake tan that stopped at your wrists, or the awful look of sunless tanner all over your fingers, but now I have finally found a way around it! After I’ve finished tanning the rest of my body and washed my hands throughly (get between those fingers!) I use a stippling makeup brush like the Sigma F50 or a cheap makeup sponge to apply a tiny half-of-a-pea-sized amount of sunless tanner to the tops and sides of my hands, fingers, and wrist! You want just the ever so slight amount to help blend some color onto those areas without having horribly obvious self tanner faux pas. Seriously, this is LIFE CHANGING!!
Fix a Goof:
If you get streaky try using a mix of lemon juice and baking soda for a small streak, and if you get a big orange disaster somewhere like your palms or between your fingers try a whitening toothpaste or a little bit of an acetone based nail polish remover.
I hope that you found this post helpful! If you did please considering sharing it using my share buttons below or hovering over the picture to “pin” it to your Pinterest! Thank you! Have a wonderful weekend!! xx


